
This is a guest post courtesy of Brittany Herd of Resonate Wedding Photography
This lighting kit was recommended to me by Heather Kanillopoolos of Heather Kanillopoolos Photography. I get so many questions about it every time I post a flash-lit photo session, so I wanted to break down exactly what’s in my kit, what it looks like, how it works, and what the result is.
First things first: what flash do I use?
I use (2) Godox AD200s for OFC.
What is an OCF?
OCF stands for Off Camera Flash. This means it serves some of the same purposes as a traditional on-camera flash, like a built-in pop-up flash or a Speedlight, but has much more versatility and power. Generally, direct flash from having the light at the same angle as the camera is regarded as unflattering. However, in recent years many photographers serving a high-end clientele have made this their signature style, going to show that there are no rules in photography as long as the client is happy with the result. On the other hand, Off Camera Flash refers to a flash that is positioned separately from the camera, but is triggered to flash at the same time as the press of the shutter. It can be moved to any angle and distance from the subject, but understanding what angle and distance will produce the desired result is key.
Often Off Camera Flashes (OCFs) are attached to a light stand and typically have some sort of diffusion on them, such as a softbox, umbrella, or beauty dish. We’ll touch on diffusion more later.
How many OCFs do you need?
I purchased two AD200s, which were recommended to me by Heather. She also said that, in her experience, the AD200 Pro didn’t have any features that made it worth buying over the AD200. She recommended the Godox AD-B2. This allows you to dual mount your AD200s to create a light with twice the power. But when that’s not necessary, you can just use one, or put them on separate stands for more versatility.
More often than not I have used just one, so don’t stress if your budget doesn’t allow you to buy two just yet. However, if you plan to schedule mid-day shoots and need to overpower the sun, you’ll wish you had two.
What if you don’t need the extra power or versatility?
If you do decide you just need one AD200, you can get the Godox S-type bracket in place of the ADB2. However, the ADB2 can be used with just one flash attached (provided that the bulb and flash are both plugged into the correct places on the bracket) so, if you might want a second later on, you can save yourself a step by starting with the ADB2.
So what makes it work?
Something has to tell the OCF to fire. In this case, it’s a trigger. The trigger mounts on the hot shoe of the camera, like an on-camera flash would, and tells the OCF when you’ve hit the shutter so it knows when to flash.
Heather recommended the XPro, so that’s what I went with. You will need to make sure the last letter corresponds to your camera make. I have the XPro-C for Canon. If you use Nikon you’ll need the XPro-N, and Sony uses the XPro-S. But on the plus side, this means that there is only one version of the flash itself for all camera makes – only the trigger changes based on what you use!
Godox also makes another trigger model called the X2T, which is slightly cheaper and doesn’t come as highly recommended. I know that I enjoy the layout and ease of use with my XPro (seriously, it is literally plug-and-play, and it remembers my settings, so it automatically connects to my lights every time!) and I am very happy with my decision.
The trigger also serves the useful purpose of adjusting your settings! You can change the power level of your flash directly without touching the flash. This is especially great for those who may be shorter and don’t want to have to lower the light stand each time they need to adjust a setting.
What makes the light pretty and flattering? Isn’t flash harsh and ugly?
If you want to master artificial lighting, you’ll need modifiers. Modifiers or diffusers are used to soften the light. Soft light is very flattering and pleasing!
I would recommend a Glow EZ Lock softbox for ease of use, and a 36″ is a good size. It feels huge, but the smaller 25″ can feel too small in some situations. I originally purchased a Godox softbox that required assembly every time. This would be great for studio work, but extremely cumbersome and difficult to use on location.
Note: These softboxes cannot be used without a mount, it only has a circular metal ring and you must purchase the ADB2 or the regular S Bowens mount separately. The mount then locks into place in this metal ring. If you do not purchase one of the Bowens Mounts you will be unable to use the softbox.
If you decide on the non-collapsible Godox, here is the secret to the assembly that will save you a lot of time and heartache: add your rods in a symmetrical pattern, like lugnuts on a tire. This means installing the 12 o’clock pole, then the 6 o’clock, then the 3 o’clock, then the 9 o’clock, and so on. It will be difficult if you attempt to go in a perfect clockwise/counterclockwise pattern. You have to alternate sides. For me, it is easiest to install one side of the pole into the velcro pocket side first and then pop it into the metal ring. And if you have one that you just cannot get in or out, use your elbow to hold the pole straight while installing. This makes it so much easier!
Important Note: when shopping for softboxes, be sure to carefully study the photos and product descriptions. A lot of other modifiers, such as beauty dishes, appear in searches and, while some of them may produce similar lighting on your subject, some may be very different and may mount differently as well. Beauty dishes are made for the flash to face inward towards the reflective insides of the modifier so that the light can bounce back onto the subject. The softbox I linked, on the other hand, is made for the light to face outward towards the subject and to have a sheer piece of white fabric (included) attached to soften the light. Make sure to do your research on the type you are buying.
What else do I need?
You’re almost there! You just need something to hold it up! Right now you’ve got a softbox on the ground, but you want it to be just above eye level for your subject! That means you’ll need a stand. I purchased some at a yard sale years ago and have been using them. They were from a cheap kit. They do get the job done, but fall over easily and have loose connections in the top metal piece, which make it less stable. Any light stand that has that little metal piece on top that looks like a thin spool of thread will work . This is where you’ll attach your softbox, so you’ll want it to be sturdy. If you can afford a nicer, more expensive stand, however, you won’t regret it.
Most importantly, don’t shoot without protection!
The Off Camera Flashback Bumper was created by a female photographer to save AD200s from fall damage.
I tried to play it cheap and say I didn’t need it, but low and behold my softbox caught the wind, fell on a sidewalk, and broke. Protect your investment by purchasing this along with the rest of your lighting kit. The silicone sleeves are not the same and offer no protection.
Ready to light up your life?
Checklist of what you’ll need:
Godox AD200 (1 or 2, it’s up to you)
Godox AD-B2 (if you purchase two lights or plan to eventually get two)
or
S Type Bowens Mount (if you purchase one light)
Godox XPro Trigger (the last letter corresponds to your camera brand)
Glow EZ Lock Softbox
Light Stand
The Off Camera Flashback Bumper(s) (one per flash regardless of whether you’re using them together or separately).
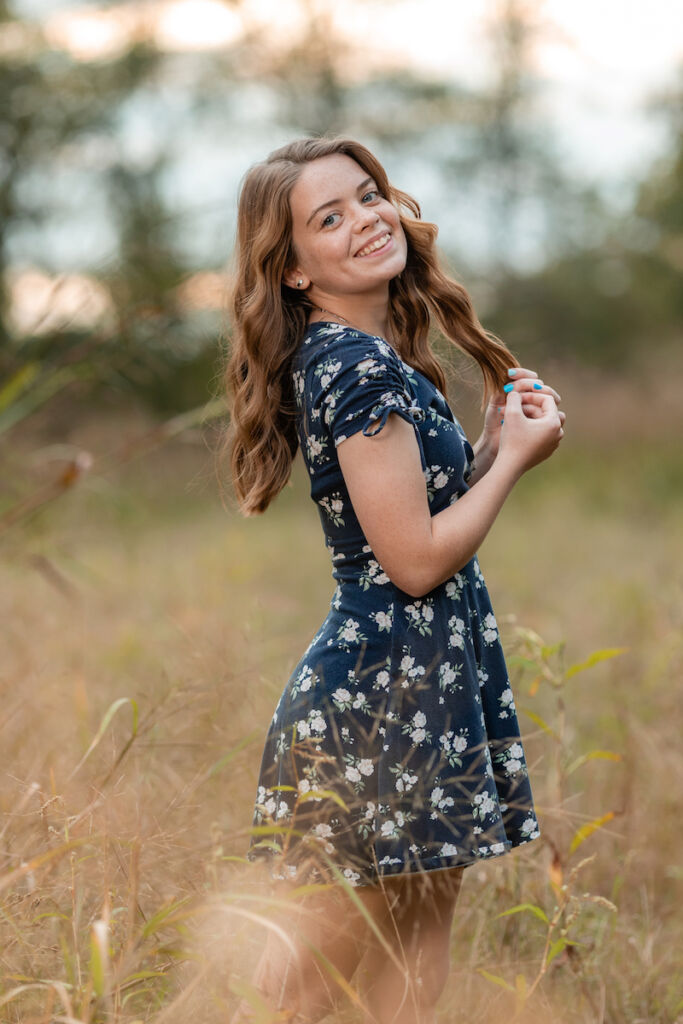
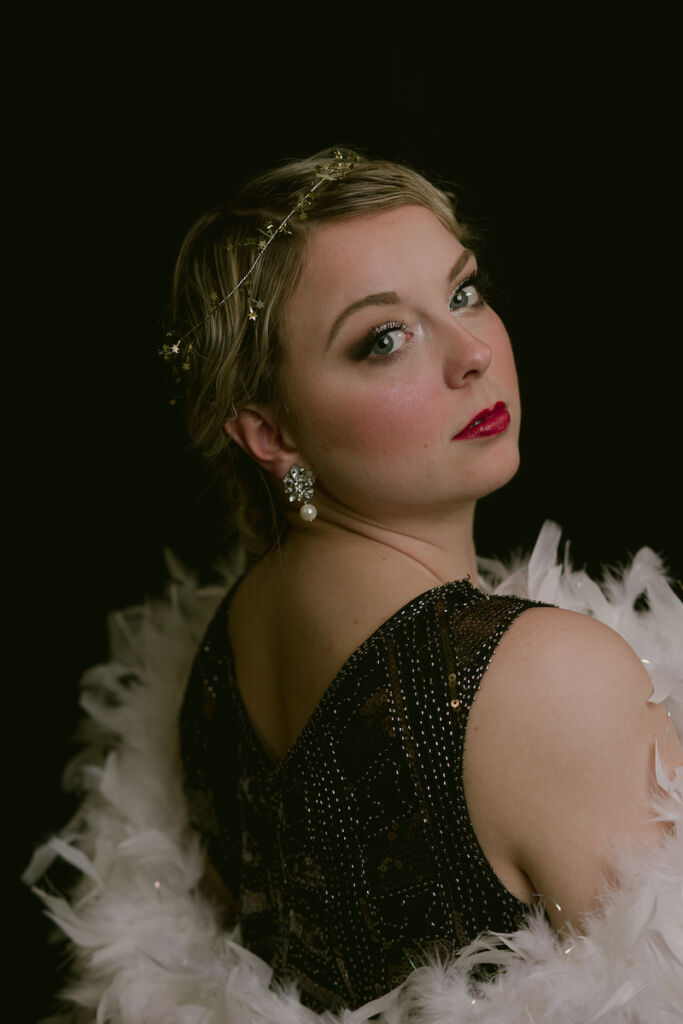
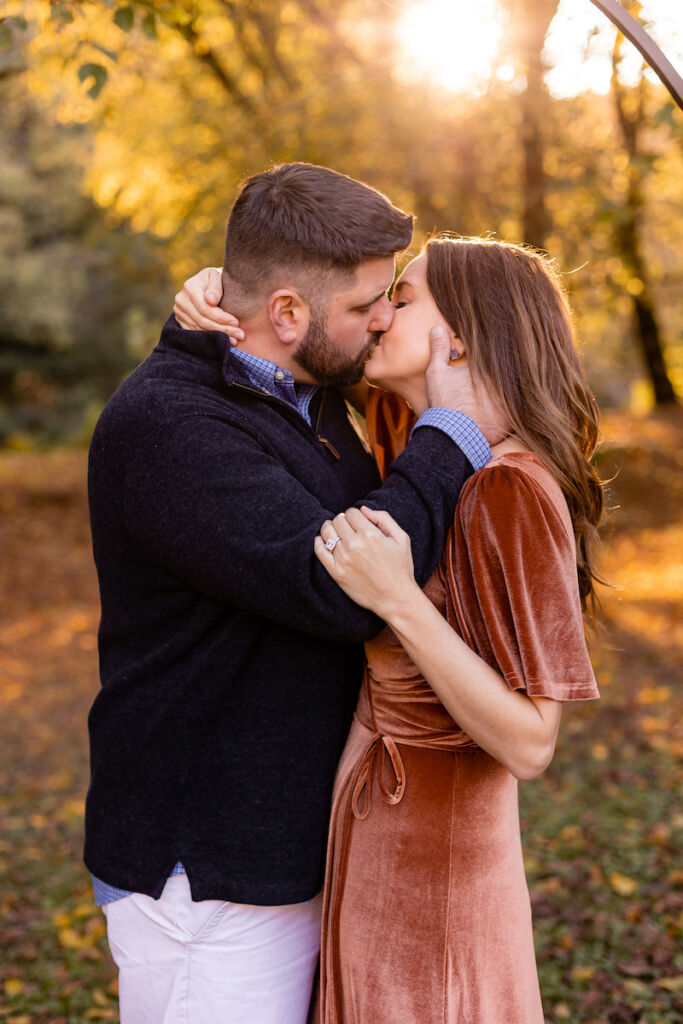
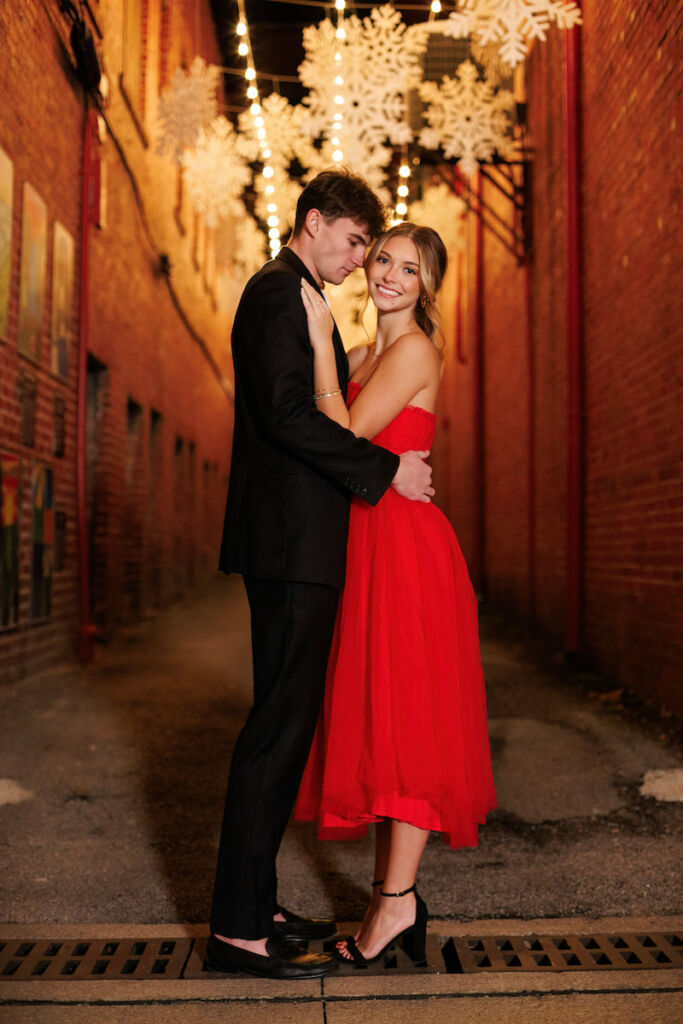
*All images contained in this article were taken with this setup.
Thinking of joining the Summerana Academy? Learn more here!
____________________________________________________