
Reflectors are hugely important for professional photographers. Most photographers will keep one with them at all times, and some of the best in the business swear by them as the one thing that makes the biggest difference to their photos.
But if you’ve never used one before, you might seriously wonder why. What do they really do? And how do you use them, anyway? We’ve got all of the information you need to get you started.
Types of reflectors:
First, let’s look at the types of reflectors. There are many – and you can actually use almost anything as a reflector. Normally you would buy a reflector in a circular shape which has a white material on one side and a black material on the other side – this is the standard reflector you will see used very often.
You can also purchase reflectors with gold and silver surfaces. Then there are the items you might typically use in product photoshoots as reflectors, such as white card, white polystyrene or foam board, black card, and so on.
What is the point of all of these different materials and colors?
Simply put, they all give different kinds of reflections. The easiest way to understand this is to try it for yourself. First, stand in front of a mirror, or have a friend stand in front of you, under normal light conditions. If there is a little shadow on the face, this will work as a perfect example.
Hold up a piece of white card or paper near the face (or a reflector if you have one). The white surface will bounce light back onto the subject, alleviating some of the shadows and lightening the face overall. When you move the reflector, the areas hit by the reflected light will also move. A white reflector is great for general fill-in light which won’t change the look of your image in any other way.
Hold up a gold reflector, and the light will look very different. It will have a warm tone, almost as if your subject is bathed in the rays of the sun.
With a silver reflector, the effect is different again. This time, there will be a very cool effect, with the light and contrast both increased. This can create a really interesting effect for edgy shoots.
A black reflector is actually really the opposite of these other tools. It is used to take light away, blocking the light source and creating more shadows.
Choosing your reflector:
Now that you know all of the types there are, you need to actually choose one to use. They come in all shapes and sizes, and so you need to keep your purpose in mind.
A smaller reflector is great for headshots and is certainly more portable, but a mid-sized reflector is better if you are shooting portraits where the whole body might be included. A larger reflector is great for using for studio portraits, but will be very hard to move around outdoors.
If you are working with products, you will normally want to use card for your main reflectors. You can use them to set up a specific studio look for each shoot, perfect for the size and shape of the item you are working with. You can then add in small reflectors to make each particular shot work better.
As for colors, there’s a lot to choose from. If you don’t know what to go for, one reflector with a black side and a white side is a good choice. If you normally shoot on the beach and need a sun-kissed look, a gold reflector is a good idea. Silver is great for those who are always searching for more contrast.
You can also get reversible reflectors which include all four colors in one.
Holding it up:
Something you will notice very quickly is that it can be very hard to shoot whilst also holding a reflector in the perfect place. You can do it easily with a tripod and a remote shutter release, which will allow you to stand where the reflector needs to be even as you shoot.
This isn’t convenient in all situations, however. You can ask your subject to hold the reflector if you aren’t going to be including their arms in the shot, and with family shots, you can get Mom and Dad to hold the reflectors over their little ones.
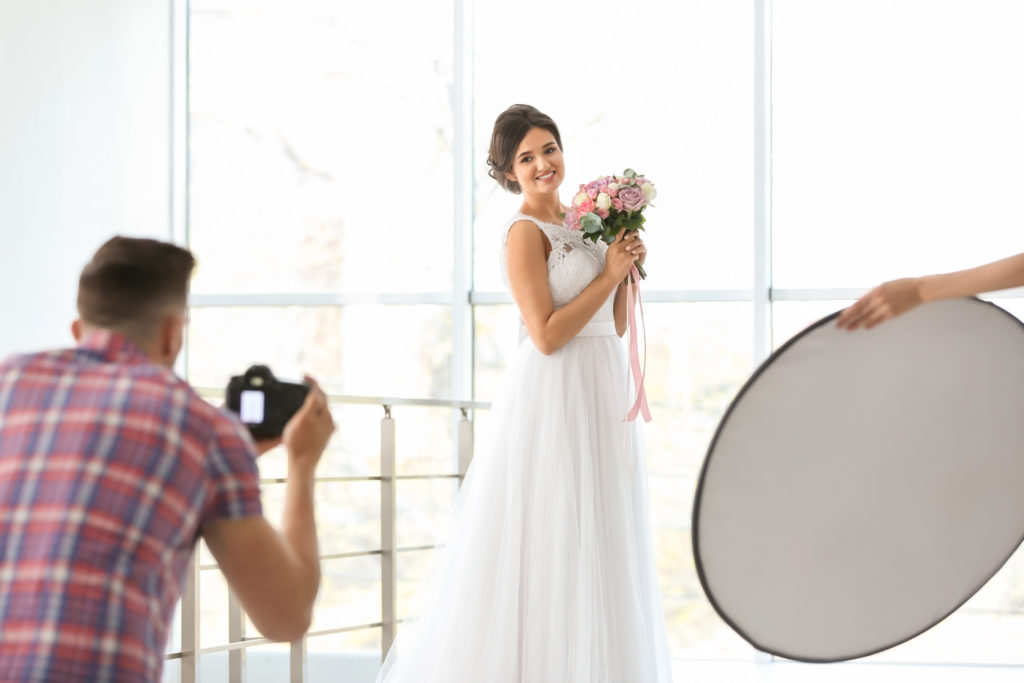
Generally speaking, it’s easiest to use a reflector if you have an assistant to hold it for you. But with practice, you might find you can manage it on your own.
Balancing shadows:
Most people use reflectors as a fill-in to get rid of shadowy areas.
Remember that you are reflecting the light, which means you need to get the angle right. The reflector should be positioned in such a way that you are having the light hit your shiny surface, then aiming it right back at your subject in the area where you need it.
You don’t have to do this directly: you could also lessen the effect by angling your reflector differently, or by holding it a little further away. The closer you are, the more extreme the effect will be.
There is a certain amount of struggle which can take place between getting the reflector to give the right amount of light, and keeping it out of the frame. This is a matter of practice and experience, simply knowing how to get it in the right place. Until you learn it well, you’ll just need to be patient and keep trying!
Using a reflector isn’t easy at first, but knowing how it works in the first place is a really good way to start. Once you have that knowledge and a little bit of experimentation under your belt, you will find it much simpler. Practice will have you reflecting like a pro!