
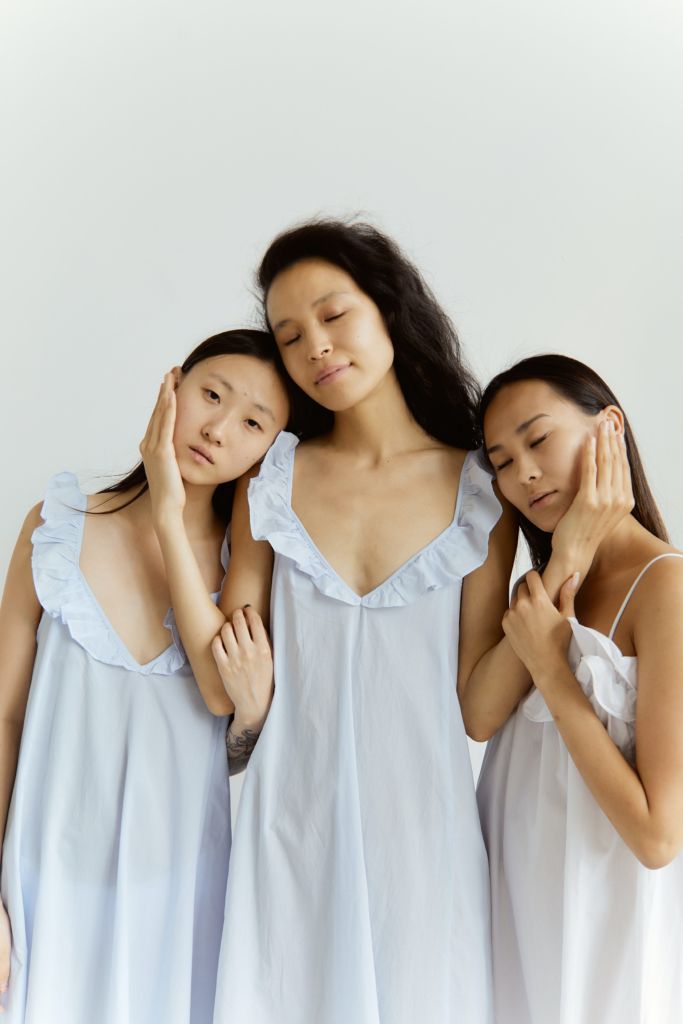
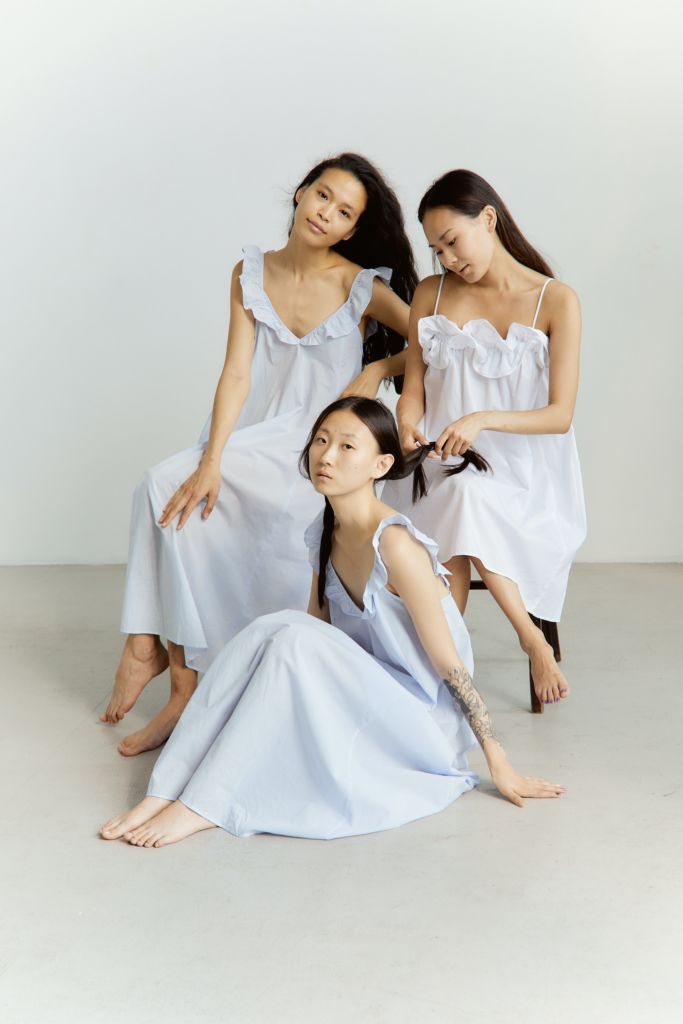
Natural light is one of the biggest gifts that we as photographers have. It is an endless and always available source of illumination for outdoor shoots during the day, and it is very predictable – we always know where it will fall at any given time of day. Not only that, but it offers lots of different types of light: for example, a diffused glow when cloudy, or a direct beam when bright. It is our best natural resource, but it only works best when you know what to do with it.
Here are the main ways to take advantage of natural light when you are shooting.
Use a reflector
The biggest and most obvious way to use natural light is to bounce it around with a reflector. This is very effective, and is also one of the main techniques that a professional photographer will use that may be missed by an amateur. Using a reflector, you can fill in shadowed areas and bring an even light to the face, as well as creating a different effect depending on what type of reflector you use.
There are three types of reflector which will come in handy for outdoor photography: gold, silver, and white. White does the basic job of casting light back onto the model, while silver gives it more of a bright glow. Gold, meanwhile, gives warm tones which are better for certain skin colours. It’s all down to what suits your shot the best. It is possible to purchase reflectors which include all three colours and can be turned inside out depending on which side you want to use, so invest in one of these to have the widest range of use.
You will most likely need an assistant to hold the reflector in place, although it may be possible to create close-up shots where you or the model holds the reflector. If there is anyone else with you on set – such as a make-up artist or another model – you may ask them to do the honours for you. Once you try shooting with a reflector, you will see just how big a difference it can make.
Use fill-in flash
If you have light which is very direct and therefore creates a lot of contrast on the face, or you are in a dim area which doesn’t light the model sufficiently, you can use fill-in flash to add a little more light where it is needed. This is done best with an off-camera flash which you can control by remote or by cable, and which can be moved around to where you need it. An on-camera flash can work too, but only when you are able to direct the light to the correct place with this set-up.
What this can do is to even out the shadows on the face even more, and add more light to the foreground area. It can create an interesting contrast, helping the model to stand out from the background because they are better or brighter lit. If you have a flashgun, you can practice this by setting up a still life outside and seeing how the light changes when you turn on that flash. The difference can be very dramatic, and flash can help to create cinematic shots which look very professional. Beware of creating an effect which is too uneven or high-contrast, however, as it can be difficult to correct this in post-production without experience.
Use filters
A polarising filter will help you to get images which are a lot more balanced even in the bright mid-day sun, so it is definitely worth the investment. There are other types of filter you can use, too: a lot of them are very useful for creating different effects. You should learn as much as you can about filters as they are hugely useful, not to mention helping to protect the lens. Make sure you do some research into what filters create what effects – in bright sunshine you can even shoot day for night with the right filter, which means making it look as though you took the photographs in the middle of the night. This is a really useful technique which filmmakers use all of the time!
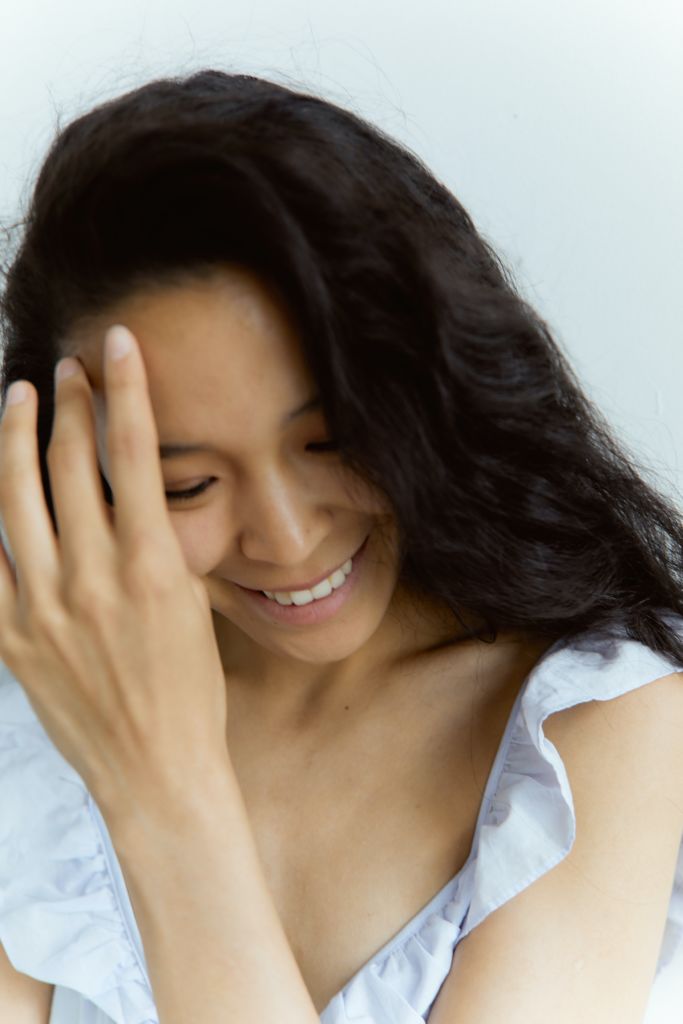
Choose the time
Different times of day offer different types of light. You may already be aware that sunset and sunrise are the best times to capture beautiful light, especially during the “golden hour” when everything is cast in a soft golden glow. Rising early or staying out late can really help you to turn your portraits up a notch, as the effect is just gorgeous – and the lighting is a lot easier to handle at these times of day too. When the sun is low in the sky, just face your model towards it and they will have soft, even lighting which leaves them without dramatic shadows around their face and chin. Face them with their backs to the sun and you can create either a dramatic silhouette, or a creative shot with lots of lens flare. Of course, you can always shoot them in that even light and then add lens flare later on, with the Luminosity Lights Flare Overlay and Action Collection. You can even shoot them facing sideways to the sun, although this can create dramatic and unflattering shadows around the nose and eyes.
Go inside
It may sound counterintuitive, but natural light can be great indoors. When standing by a window, you can get some really amazing lighting effects, especially if the light outside is too bright for your subject. The closer you are to the window, the more direct and bright the light will be. It spreads out and diffuses the further into the room you go. Play around with this to see what effects you can get. You will most likely have to take your f-stop to a lower number in order to compensate for the lower levels of light inside compared to outside.
What are your favourite tips for natural light? Do you have some great outdoor images to share? Show us in the comments!