
The liquify tool can be mystifying to new Photoshop users. Some see it as a horrible tool used to distort images and make supermodels look far too thin. Others think it’s impossible to use it without leaving obvious mistakes in the image. For those who learn how to use it, however, it can be an invaluable tool. Here’s how to get started and see for yourself.
Summerana Academy members can see the liquify tool in action in Shannon Squires’ wind-up doll tutorial around the 22:36 minute mark.
What does it do?
To begin with, let’s explain a little about what the liquify tool actually does. To summarize it neatly, it distorts pixel without the loss of quality in your image. It actually has a lot of applications because it is a very creative tool – it can allow you to change your image in a lot of different ways.
You can push and pull pixels around in certain directions, bloat the pixels, pucker or reflect them, and rotate them. If you combine these options together, you can see that the possibilities are huge. There are so many ways you can use liquify, and once you understand how to use it properly, it will be possible to use it in a natural way, almost without thinking.
How do I use it?
First, you should know that you can’t use the liquify filter on a smart object, so you may have to change the format of your layers before you begin. When working simply on an image from your camera, however, you should have no problems. It’s always a good idea to duplicate your background layer and work on the copy to ensure that you can roll the changes back if you need to.
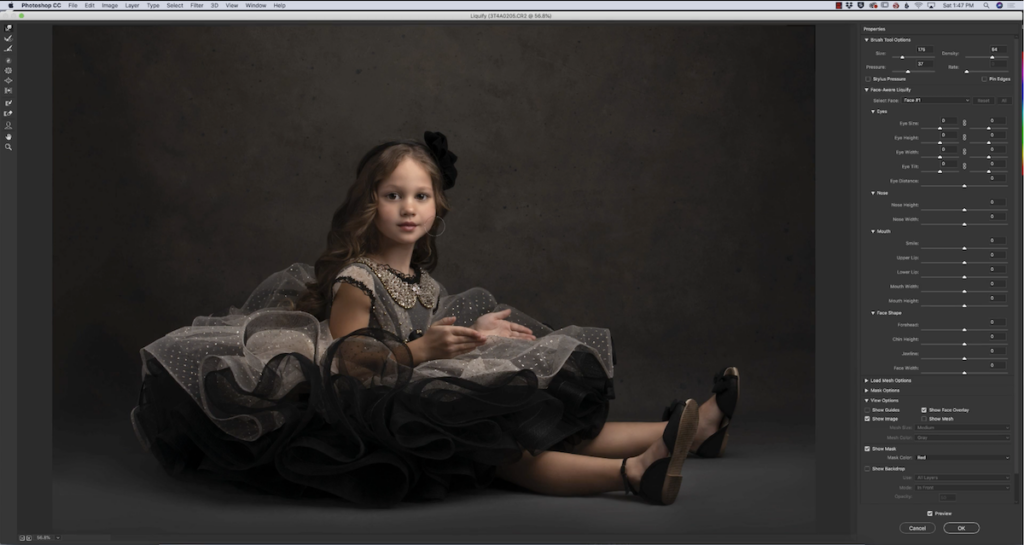
Now, go to the ‘Filter’ menu and click on ‘Liquify’. You can also open this window by pressing Shift, Ctrl, and X on your keyboard at the same time. For Mac users, replace the Ctrl with Command.
Next, your filter window will open up. Here you can see a large number of options that may seem overwhelming at first. Don’t worry for now – your understanding of the toolbar and the options panel on the right of the screen will grow as you use the liquify tool.
The forward warp tool is the one that you might begin with, so we’ll start by explaining how to use it and how it can work with portrait images.
How does the forward warp tool work?
Forward warp is probably the most basic tool in the liquify arsenal, so it’s pretty good as a starting point. Here, you have a brush controlled by your mouse pointer. Just like any other Photoshop brush, you can change the size to make it larger or smaller depending on what your image requires.
Using a portrait image, take your brush and smooth it down beside your portrait model’s stomach, legs, or any other area where they might have a little bulk. Even if your model is perfect, you can try this for fun to see what you can do with the tool. Right away, you will see that the pixels shift along the path of your brush. You are effectively dragging everything along. When you do this in the correct way next to a bulging stomach, for example, you can carefully make that stomach flatter.
After applying the effect, make sure that you click ‘OK’ on the right-hand panel. This will confirm the changes for you, so you can continue to work on the image in other ways.
There are other ways to use the forward warp than simply slimming someone down. You could also use it to lengthen legs, which is often done for fashion models. You could lengthen a neck for an interesting effect, lengthen hair, shorten hair, make a nose longer or shorter, and so on. While many photographers may be critical about changing the size of your model, sometimes it is more flattering to smooth out a little bump. This can be really important for boudoir photographers, or when you are working with a model who feels uncomfortable about their size. You don’t have to make them lose weight – you can simply smooth out bulges so that they don’t look so conspicuous.
You can change the intensity of the effect with the brush density slider. The higher the number is, the stronger your liquify effect will be. This can really help when working in areas that require a delicate touch.
The brush pressure slider will control how fast the distortions happen when you drag your brush along, which is again great for making gradual changes.
If you find that forward warp isn’t working for you, try the push tool in vertical mode instead. This moves things to the left when you drag your cursor down, or to the right when you drag it up. You may find it easier to control when editing the shape of models.
What are the pucker and bloat tools?
Let’s take a quick look at two more options you might use inside the liquify filter: pucker and bloat. These two are the opposite of one another. With pucker, the pixels move towards the centre of the brush area when you click. With bloat, the pixels move away from the centre. To put it simply, pucker makes things smaller and bloat makes them bigger.
You might be able to use these tools for something like making a subject’s eyes bigger. Be aware, however, that the distortion they create may not appear realistic. You will have to use careful judgement on this one about the size of your brush and the placement of the effect to avoid it appearing very obvious that you have made a change.
Above everything, the most important thing to do with the liquify tool is to ensure everything looks realistic. When you apply your effects and come back to your image, your extra layer will really come in handy. You can use a layer mask to erase parts of your liquified layer that don’t look right, and allow the original layer to come through.

What other questions do you have about liquify? Ask in the comments and we’ll try to help with future guides!