
Unique locations are highly important as a photographer, and I’m always searching for them. Ideal locations are somewhere that is beautiful, yet not overused. A place with magical light that no other photographer knows about. In fact, one of my unique advertising points to my prospective clients is access to exclusive locations. (Senior clients love this, by the way!) As I’m driving, I’m always scouting for new spots, even if I’m miles away from home.
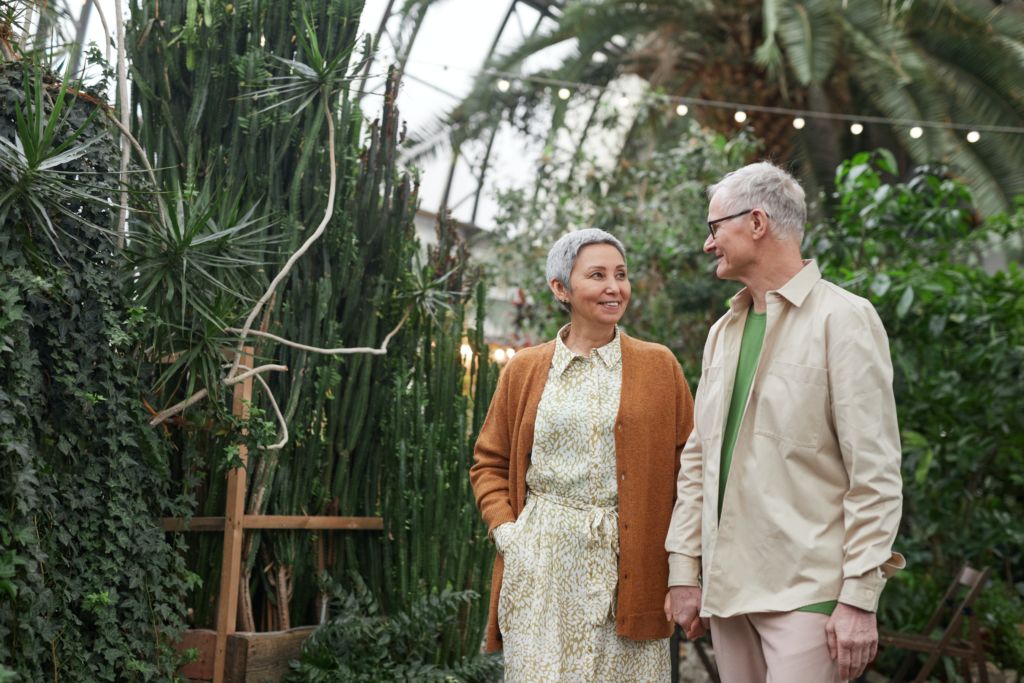
While browsing online, I came across some images that were taken in a greenhouse, it inspired me to take on the task of building my own greenhouse set. I just loved the look of the old windows and the all white frame. First things first, I had to get my husband on board since I’m certainly no handy-woman. I pitched the idea to him and he committed to helping me so the project was a go.
I had a couple of ideas for the design; either a square or rectangle structure with three walls. The fourth side would be left open to shoot through. I ended up choosing the rectangle design, like a hallway. I wasn’t exactly sure how many windows it would take to build it, but I estimated 20-25. I knew I wanted three columns of about 2-3 windows for the side walls (depending on the size of the windows) and then maybe three for the wall at the end of the hallway.
So one weekend, we headed off to the closet Trade Days to shop for old windows. If you aren’t familiar with “trade days”, they happen once a month and people from all over come together to sell anything and everything. From old bathtubs to handmade quilts to wreaths for your door, they sell it all! Anyway, it didn’t take us long to score the windows and even a french door panel. I figured the end of the hallway would be a good place for the french door. I also picked up a couple of open window frames. The windows cost me a total of $170 and I ended up buying about 24.
Once we were home, we laid out the windows for the walls on the ground and I arranged them how I wanted them to look. Each side wall was made up of three columns of windows. Some columns were two windows high and some were three windows high. We then measured the width of all three columns to see how long the “hallway” would need to be, adding a little extra for the 2×4’s that would need to be placed in between each column for framing purposes. I knew I wanted the french door to be placed at the end of the hallway, so we measured that to determine the width of the greenhouse. My greenhouse ended up being approximately 8 feet long and 10 feet tall. Once you come up with the overall width and height of the structure, you can estimate from that how many boards you will need.
Next it was off to Lowe’s to pick up the wood, paint, and a nail gun which you will definitely need. We started by building the base first and then each side wall, and the the end wall. The base is held up off the ground by four 4x4s, to help prevent the floor from rotting over time. I also wanted to add the cross boards on top, not just for sturdiness, but to be able to hang greenery and flower garlands. I decided to add one hollow window frame on one side to be able to shoot through. Once the structure was complete, we painted it white. I think painting was the worst part! Oh, and did I mention that we built this in JULY? In TEXAS?!? Bad timing on my part but I wanted to complete it before my busy season.
I made a trip to Hobby Lobby and Michael’s to load up on flower garland and greenery. I bought several different colors of flowers so I can change them out to match my client’s wardrobe. For a finishing touch, I ordered a small chandelier Amazon to hang from the top.
All in, it cost about $700-800 in materials to build this greenhouse set and took about 3 days from start to finish. The greenery, flowers, and chandelier tacked on an additional $300. I feel the project was well worth it and a great business investment. My client’s love it! I hope you are inspired to create your own sets and set your business apart. My next project…I’m thinking graffiti wall…