Introducing Sara Hunt of Sara Hunt Photography who is a guest instructor inside the Summerana Membership this month! We are lucky that not only do we get to watch her edit from start to finish showing us all of her editing secrets, but we also get to find out what is in her camera bag!
Sara Hunt is a Fine Art Photographer in Houston, Tx specializing in newborns, maternity and child portraiture. Here is a peek inside her camera bag:
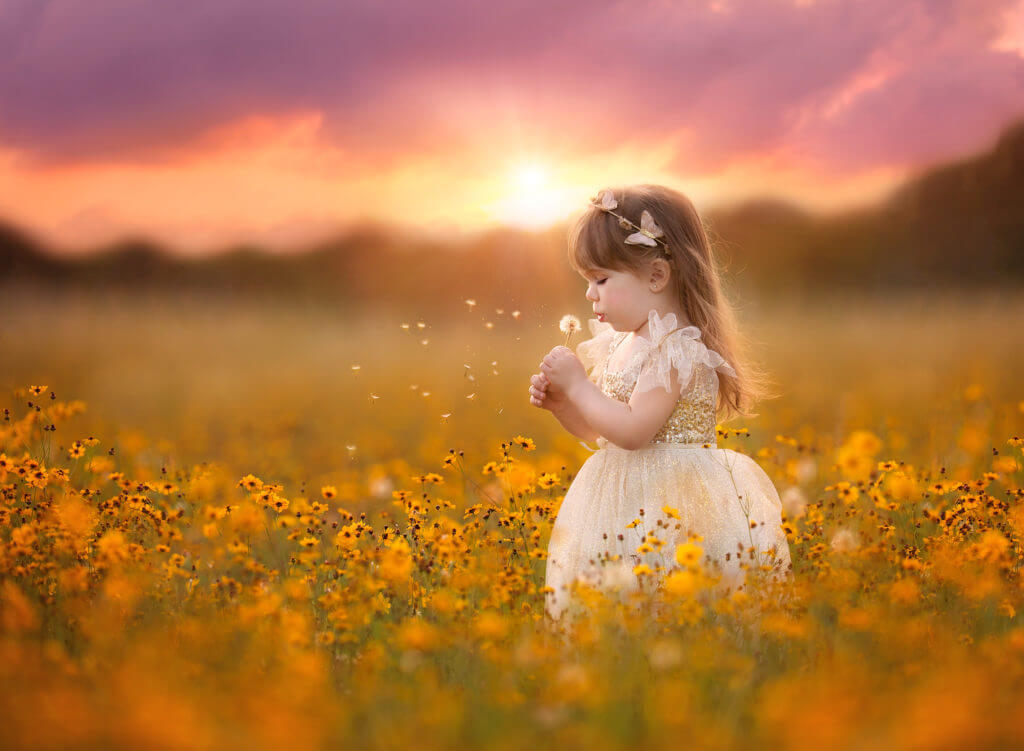
My very first camera was the Canon Rebel which was a great starter camera for me to really learn all the basics of photography. I used that camera for about 2 years before I was ready for an upgrade to the Canon Mark II and then later on upgraded again to the Mark III which has been with me for the past 4 years.
- Canon 50mm f/1.4
- Canon Macro 100mm f/2.8L
- Canon 200mm f/2.0 L
- Canon 135mm f/2.0 L
- Canon 24-70mm f/2.8 L II
- Canon Fisheye 8-15mm f/4 L
All of my studio work is done with either the 50mm or 35mm and I also use a Macro for newborns.

My go to lens for outdoor work is the 200mm. I call it my “magic maker” because it produces such gorgeous and magical images. I’m obsessed with bokeh and that lens is the bokeh queen. It’s only drawback is the distance needed between you and your subject and the fact that it weighs a ton… it is so heavy and by the end of my shoots my whole body aches from using it. But it is so worth the pain!!! I can’t imagine life without that lens!
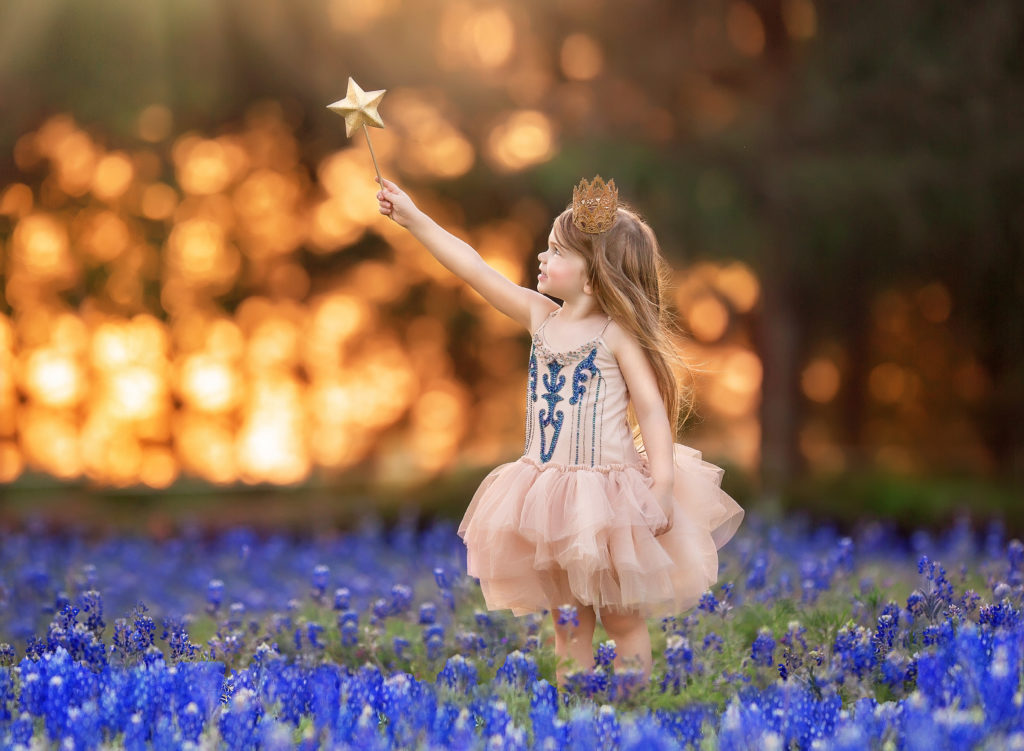
When I don’t have my 200mm then my next choice is the 135mm. It too produces beautiful bokeh and is great for photographing families and children. I find myself using it more and more these days, especially when shooting fast moving toddlers since it’s not near as heavy as the 200mm.
I love my prime lenses and are usually on my camera at all times, but my recent purchase of the 24-70mm is quickly becoming a new favorite. It’s great for low light conditions and produces sharp images with little grain. I love using it for beach sessions since it’s great for capturing those gorgeous sunsets while still giving you sharp images with minimal distortion.

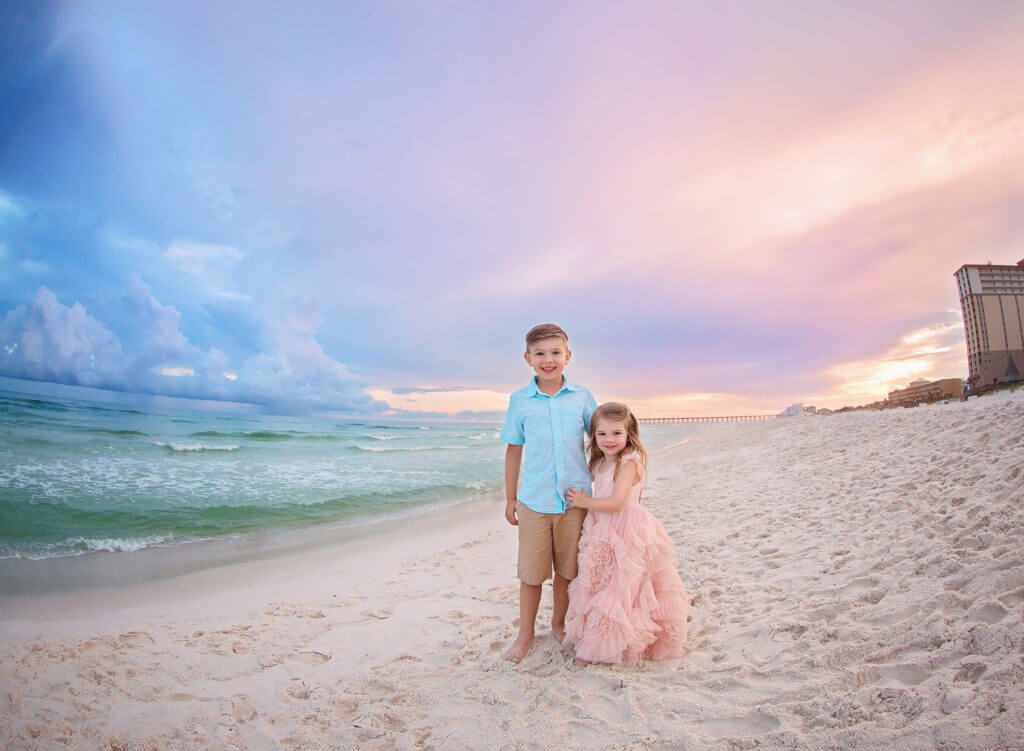
Lastly, the Fisheye…well there’s a lot of distortion with this lens but I LOVE it! I only use it for beach sessions. I usually pack my 135mm, the 24-70mm and the Fisheye for beach portraits…and the images captured with this Fisheye always end up being my favorite from those sessions. There is something so breathtaking about this lens and how it captures your subject and everything around them. I usually pull this lens out towards the end of the session to capture the wide angle view of the water, sand and if you’re lucky, one amazing sunset. The drawback of this lens is the f/4 so not great in low light but it doesn’t bother me since I can always fix that in post processing.
Other stuff in my bag: memory cards, business cards, sanitizer, bobby pins, some sort of noise maker (if working with small children to get their attention… also I use this when walking in tall grass to alert any nearby snakes… I’m terrified of snakes!), small first aid kit (once I was stung by an asp and had an allergic reaction while at the shoot so I always keep first aid nearby!)
Watch me edit:
Want to watch me edit this image in Lightroom and Photoshop from start to finish? It’s available to watch in the Summerana Membership here until June 10th, 2019!
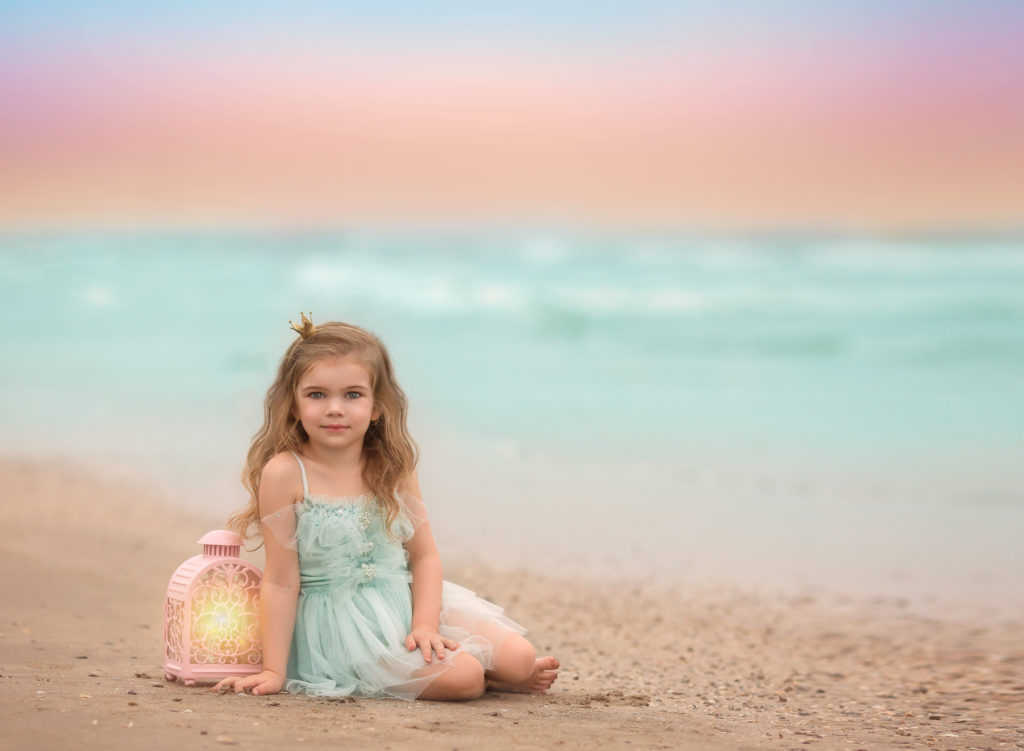
In this editing tutorial, Summerana guest instructor Sara Hunt of Sara Hunt Photography shows you her step-by-step process for editing a dull, overcast beach image to a dreamy fine art edit in Lightroom and Photoshop.
You’ll learn how to take a dark, overcast beach image and turn it into a gorgeous colorful beach image, turn grey water into a beautiful turquoise color, add color to sand, how to straighten the horizon, fix wind blown hair and add volume in Photoshop (one of the challenges you might face on the beach), how to extend your canvas and add in a brand new colorful sky to replace a blown out sky or when there is no color originally, how to add light to a lantern, how to correct and underexposed image, exposure adjustments, bringing warmth and adding color to your subject, add light to the eyes and making them pop, learn dodging and burning techniques to enhance the skin, sharpening, and more… all through hand editing and using Summerana’s Photoshop overlays and actions!
Edited using:
- Lightroom
- Photoshop
- Hand Editing
- Everyday Essentials Photoshop Actions
- Summerana Eye Essentials Photoshop Actions
- Painted Skies – Sky Gradient Overlay
- You can find light overlays here
This article was featured in Summerana’s Magazine – The Childhood Issue. See the full issue here