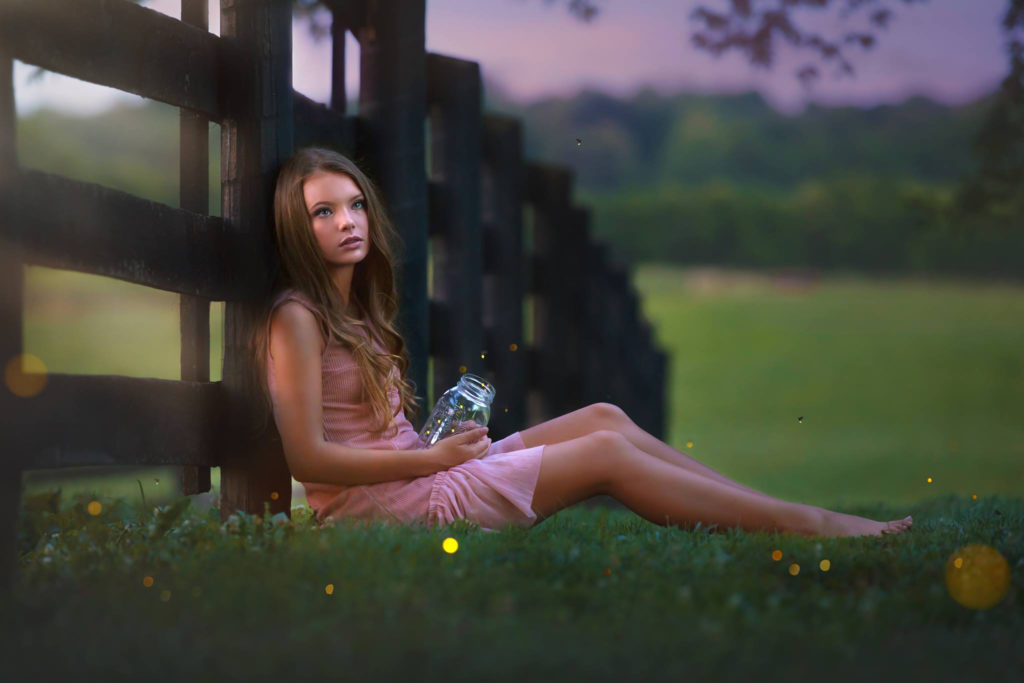
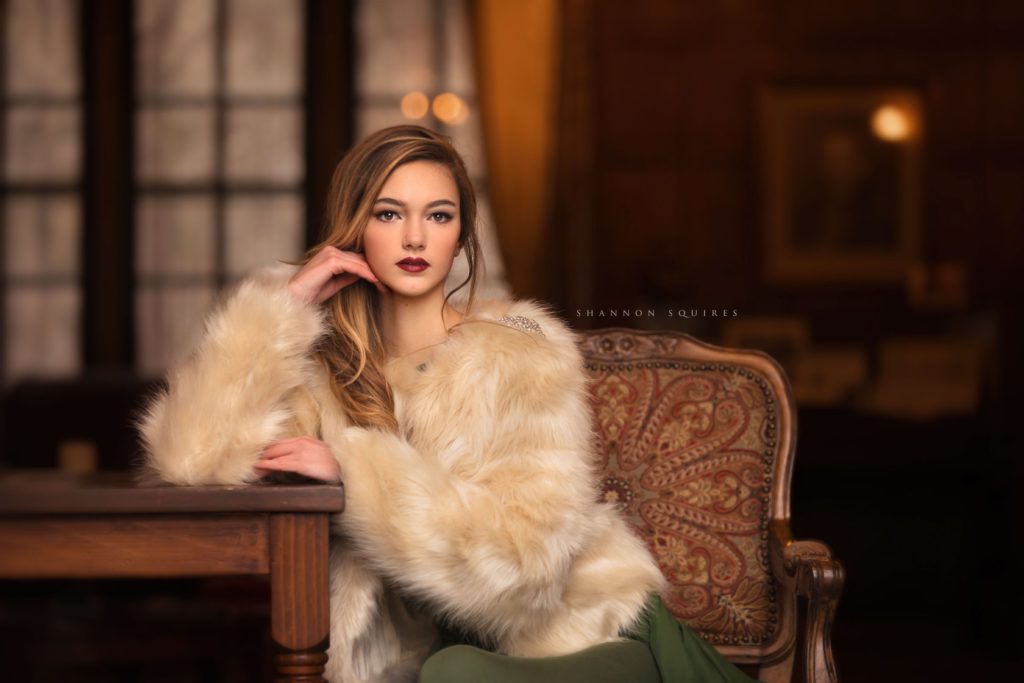
If you work on location, then chances are that you have to put up with low light a lot of the time. It’s hard to control the sun, and you never know when the day might be overcast. You may also find that your clients want you to shoot in a location that turns out to be full of shadows.
Then there are the times when you shoot indoors, but without the help of lighting equipment, such as when capturing events. Put simply, low light is an issue that you will have to face off against sooner or later. If you want to be a truly professional photographer, then you need to make sure that you know how to deal with low light conditions, even extreme low light. This will help speed up your editing in Photoshop later and will also ensure the best possible quality for your photographs, no matter what happens. Here’s how to deal with lighting situations that leave you wanting more.

Add Light
Of course, if you can add more light to the situation, you are always going to have a quick solution. It’s not always possible, but if it is, it’s the route you should take.
So how can you add light? First of all, look for where the light sources in the room are. Move your subject closer to these to ensure that more light falls upon them. For example, if you have a window letting in natural light, have your model stand side-on to this window to allow it to fall across their face.
You can also enhance the light that you have with the use of a reflector. In our window scenario, you should hold it to the opposite side of your model, facing towards the window. This will fill in some light to the side of the face which is furthest from the window, giving you a more even lighting effect.
Finally, if you can put a flashgun on your camera, you can use fill-in flash to create a better lighting effect too. This is obviously not always appropriate, but if it can be done, it’s a great solution. You should be aware too that this can cause the background to appear even darker, and can give some unflattering effects to skin or any flaws. It’s important to know what you will be dealing with when the image comes out of camera, so practicing with a flashgun before using it in the field for the first time is really important.
Add ISO
Your ISO is a setting which allows you to deal with light more effectively, although it does have its own drawbacks. When you raise your ISO, you allow your camera to process more light – but you will pay a price in the form of a grainier image. The images will be brighter and easier to see, but they may appear unattractive because of the grainy spots which cloud the scene.
Amateur photographers are likely to struggle with this especially, because a lower-end DSLR will not be as good at handling high ISOs as a high-end one. Shooting at ISO 100 is always the most ideal setting because it provides the least grain, and around ISO 800 big problems start to emerge. Using your ISO is a constant compromise, trying to find the best balance between letting enough light in and reducing the amount of grain as much as possible.
It’s something you have to learn through experience, so don’t be afraid to experiment. Use the zoom function to compare your results in-camera and see what the images really look like close-up.
Add Shutter Speed
One of the other functions that controls how much light comes into the camera is your shutter speed. This determines how long the shutter stays open for, so the longer it lasts, the more light can come in. The lower your shutter speed number, the longer that gap.
When you use your DSLR in auto mode in a low light situation, it’s likely to put your shutter speed down too far, leading to blurry pictures. Around 1/125 is generally the lowest you can go to avoid camera shake as a result of holding it in your hands, but many can only avoid this blur at 1/250 and above.
One technique you can use here to get your shutter speed up a little is to deliberately underexpose the image whilst shooting RAW. When you have that bigger file with more information to use, you can often get a better result when you drop it into Photoshop and make your edits. This is only going to work if you know what you are doing, as you may find that you have gone too dark and can’t salvage it well.
Bear in mind that changing your shutter speed also means changing your f-stop, so be careful not to push it too far. You might end up with a depth of field which is too small for your purposes, leaving the majority of the image out of focus. Instead, you can set a specific f-stop and then work out your shutter speed and ISO from there.

Add stability
When you are forced to shoot at lower shutter speeds, your hands and body shake too much to keep the camera still. So what if you’re not holding it? If you can stabilize your camera more, you can push that shutter speed lower and still get away with it.
You can always use a tripod to add stability, but this may not always be an option. You may simply not have one with you, or you may find that you are not allowed to set one up in a public place. In this case, you need to use your imagination to find a more stable surface.
The top of a fence, a flat rock, or even a rise in the land can serve as a temporary tripod if you can find them in the right place and at the right height.
If you can’t find anything to help stabilize the camera, try altering your posture. Draw your elbows in towards your hips for a stronger arm grip, make sure you use both hands to hold the camera, and pull in a deep breath before you push the trigger. This will allow you to push that shutter speed down a little without losing image quality.
Do you have any favorite tips for shooting in low light? What have you learned from your experiences in these situations? Tell us in the comments.
Great subject with very useful information for situations that every photographer finds themselves in on several occasions.
This is very interesting
Very interesting and valuable information.
well written!