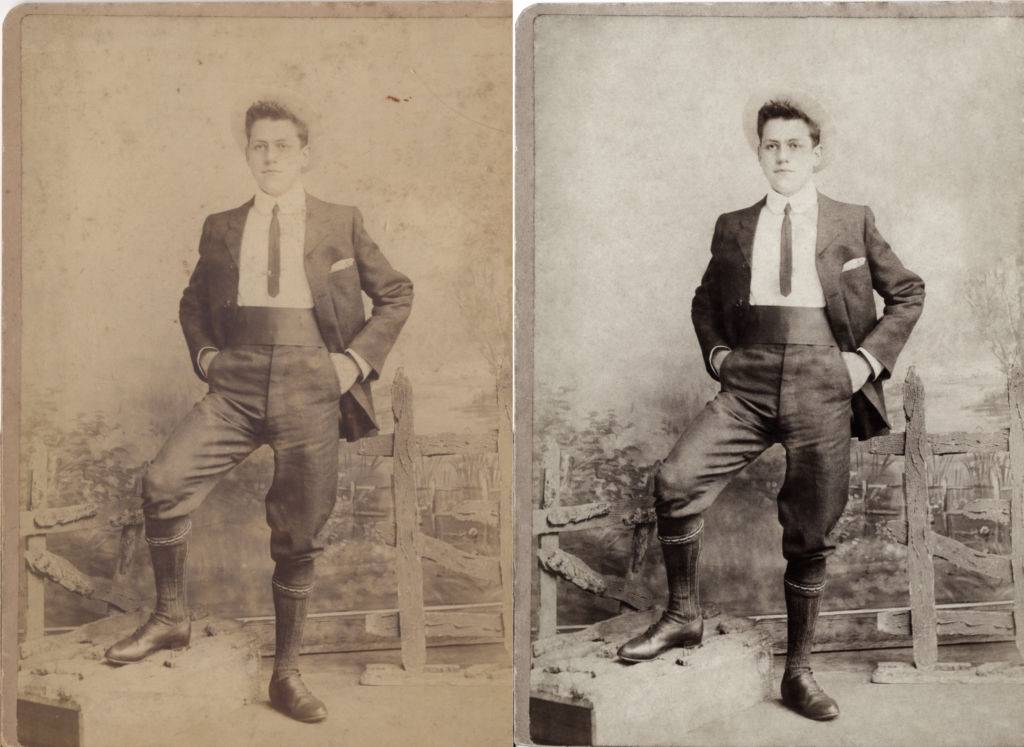
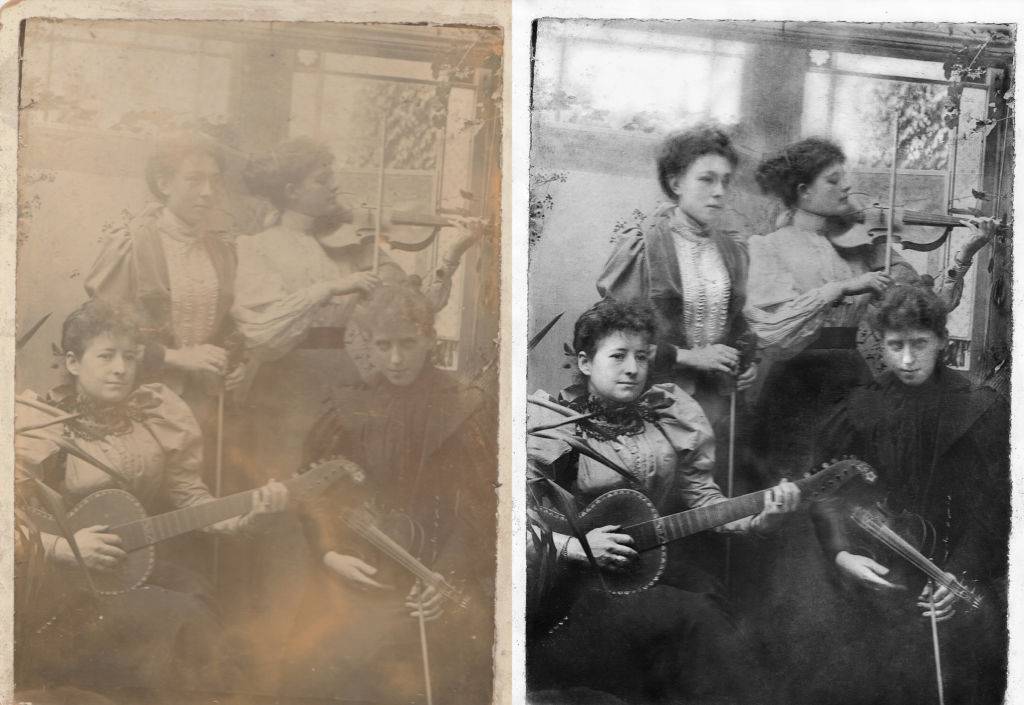
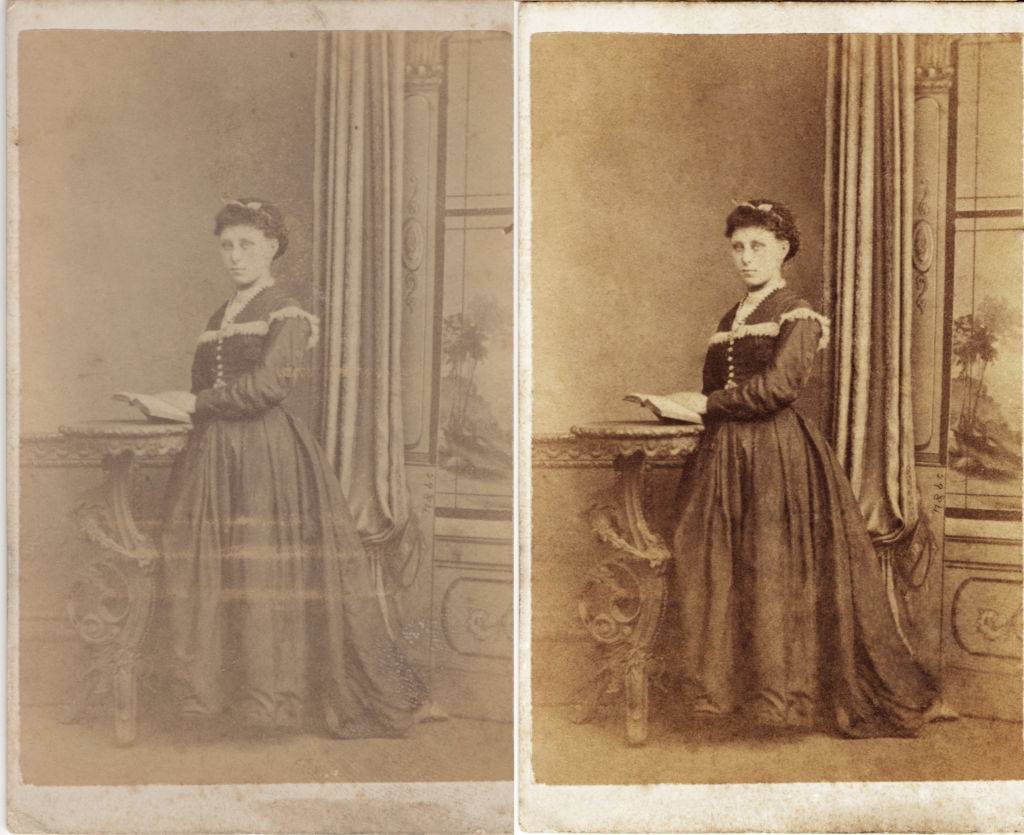
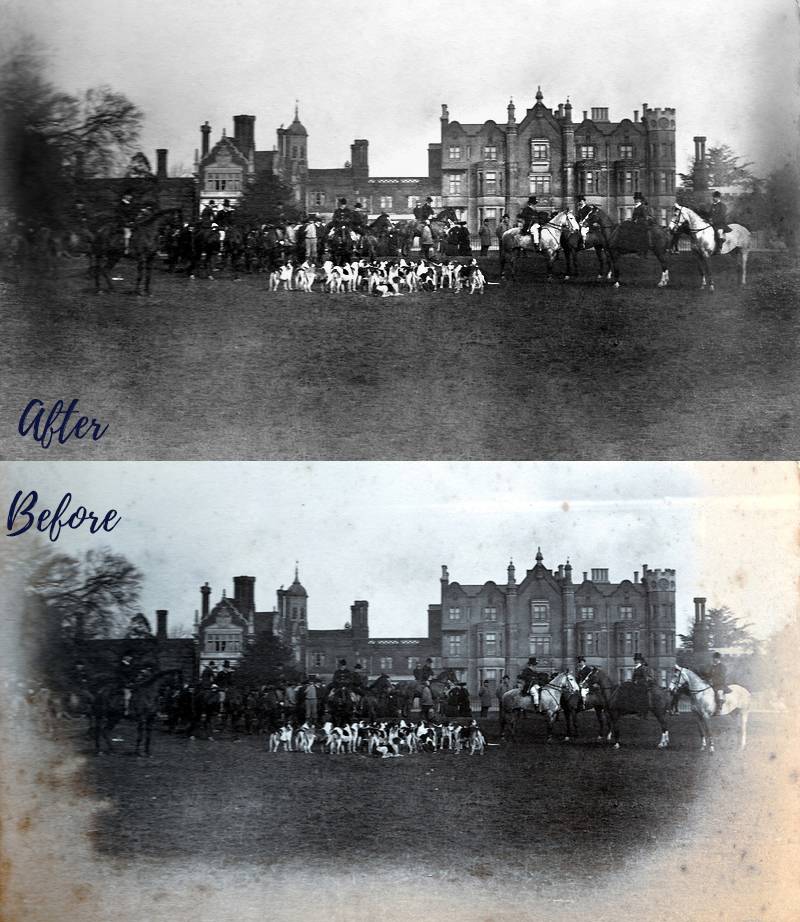
Photo restoration is the art of taking old photographs in various states of damage and restoring them to their former glory. This is usually done with printed photographs that are either very old – think back to the days of film, when a print from the negative would be the only copy in existence! – or more recent shots from the late days of film and early digital prints, which have been damaged over time.
What kind of damage might you face? It could be water damage, stains, folds and creases, missing bits taken out of the paper, fades and stains where the print wasn’t fixed properly… the list can go on! Clients might also want you to fix the colours and contrast of the photograph, or, in more complex cases, colourise black and white images to bring them to a modern standard.
Whatever your clients want done with their old family snaps, you’re in a great position to do it as a stream of income right now – because you can do it right from your home with your computer, and you don’t need to meet anyone in person to do the work.
But how do you market it to your clients? Here’s a quick guide to get those orders rolling in!

Make an example image
The first thing that you need to do is to start with an example image. You’ll want to show your clients what you can do, to inspire them and get them clicking that ‘buy’ button. The best place to start is with an old family snap of your own, so get digging in the attic or the basement or ask around elderly relatives to learn if they have any on hand.
If you can’t get hold of anything that has enough damage to be a good example, then you can always use stock. Wikimedia Commons, for example, has lots of historic photographs, and not all of them are in good condition. Most of these are free to use, and many of the really old shots don’t even require attribution, so you can go ahead and fix them up and use them in your marketing.
This is also a good time to learn the techniques you will need, or to brush up on them if you’ve done restoration a while ago. Things you will need include:
- Knowledge of how to set contrast and colour balance to more realistic settings, either with monochrome or colour shots
- The ability to use dodge and burn to bring out important details that might have been blown out
- An understanding of how to use tools like the spot heal brush or patch tool to clear up blemishes and spots on the scan
- A steady hand and a lot of patience! A graphics tablet will really help prevent a sore wrist and cut down on the time you need to spend
Over time, you can set up a series of actions and presets that will help you with your editing. You might even be able to incorporate some of your existing Summerana collections into the process to speed things up!

Create your packages
It’s a good idea to set up some different packages for your customers to choose from. One would be a very basic edit and your cheapest price – this is mainly for people who aren’t sure and want to test your service before they commit to a bigger order. You aren’t aiming to sell much of this one.
The middle-priced offer will be your most-bought, according to most statistical models to do with package pricing, so set this one up to be the best value for you (in other words, giving you the most payment for your time). You’ll want to make it a full-service edit solving any problems someone might have with an image.
Then you can set up another offer for a bulk order – perhaps if your customers order five images, they only have to pay for four. Or if you already regularly print photographs for your clients, you could set up a print offer so they have something to display at home – judge for yourself based on what you think your customers will buy.

Set up your advertising
Treat this a bit like a mini session or a seasonal package. You’ll want to get the word out fast, which means doing some advertising.
Don’t forget to start by sending out an email to your mailing list with details of your new packages. An introductory offer for the first two days or ten customers wouldn’t go amiss. Get your already loyal clients in on the deal, then start to reach out.
When targeting on social media, it’s hard to know which interests to pinpoint. You might want to look for people who have an interest in historical societies and groups in your local area, those who are really focused on family, or those who’ve tried out genealogy websites. The more interested they are in the past, the more likely that they have some damaged historic images sitting around that could do with a touch-up!
Try your social media networks that you would normally target: Facebook, Instagram, Pinterest, Twitter – whatever you normally use. You can also try something like LinkedIn for customers who have a more serious mindset, which could tie in with historic preservation.
You’ll want to try AB testing on your campaigns, too: think about targeting those who might have family snaps from the eighties to restore, and those who have images from the 1800s, as there may be plenty of both types of customer out there.

It’s a good idea to find a new revenue stream, because, as we’ve all seen recently, there’s no telling when one of your income streams might dry up. This is a great skill to have in your toolkit, and once life returns to normal, you might want to keep photo restoration as one of your regular services – more time editing at home means more family time!
Have you ever tried photo restoration? Share in the comments below!
Have been doing restoration for almost 20 years. Mostly for family and friend. Due to the pandemic, I decided to start a website (still under construction) and get the word out. It’s really easy to do, but sometimes really challenging too… Hard to find work right now. Can show samples if you need any help!