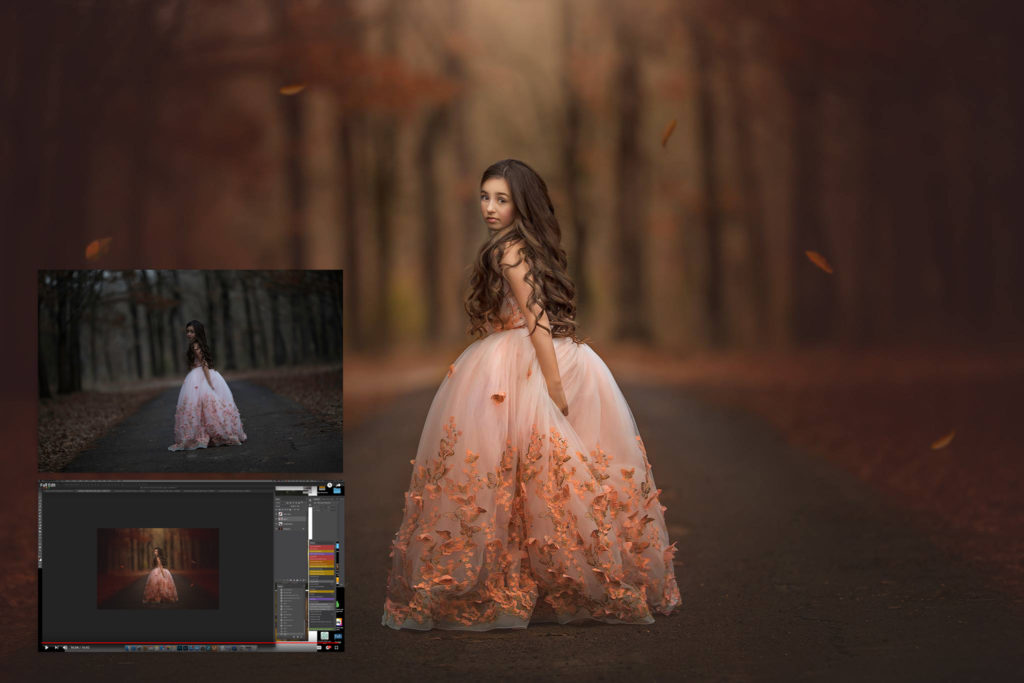
Today I’m so happy to share a Fall editing tutorial by the inspirational Shana, of Shana C. Carter Photography who was a featured Summerana Member in Summerana Magazine’s November issue! Shana, who is a family, senior, and fine art child photographer located in East Texas, takes us behind the scenes editing an image using hand editing as well as some of the products from the Summerana Photoshop Membership to create a gorgeous Fall image.

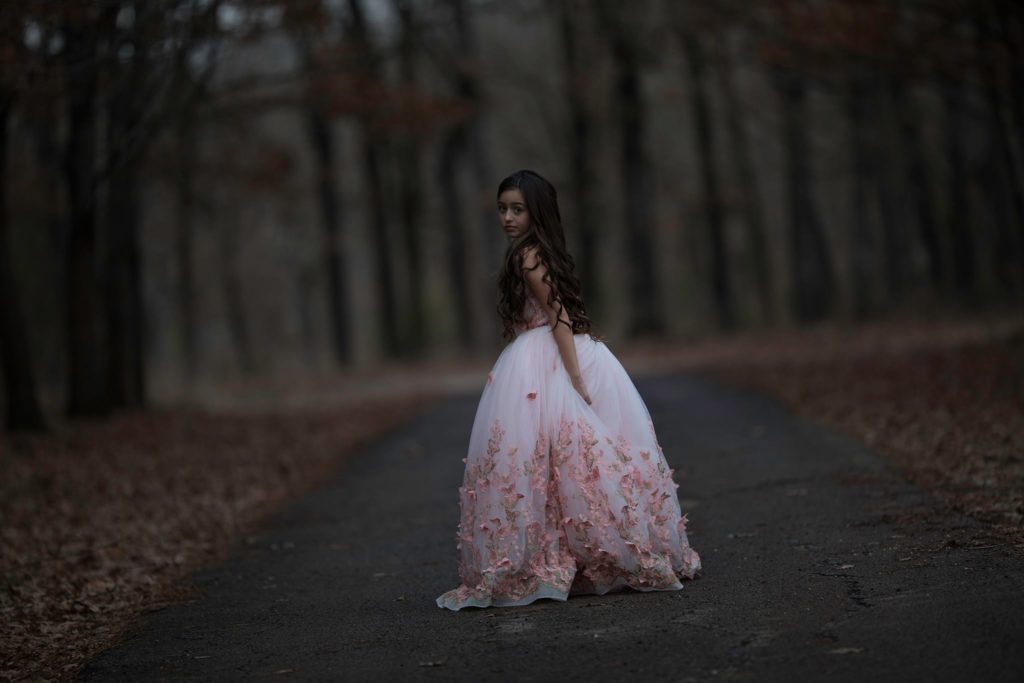
First, Shana starts with her SOOC (straight out of camera) image and does a gorgeous clean edit to brighten up her image, this part of the video tutorial is available for purchase here on her website.
This image was taken with the Canon 200mm prime lens and her settings were ISO 320 f2 1/800. This was shot on a very overcast day and her subject was facing open sky. The location is actually someone’s driveway, local to Shana in Northeast Texas (Omaha to be exact). She noticed it while driving one day and thought it would be a nice place to shoot so then she inquired around town a bit, figured out who the owners were and called to obtain permission. Her model is Marissa Jolene, and the beautiful dress she is wearing is by Little Dreamers Tutus.

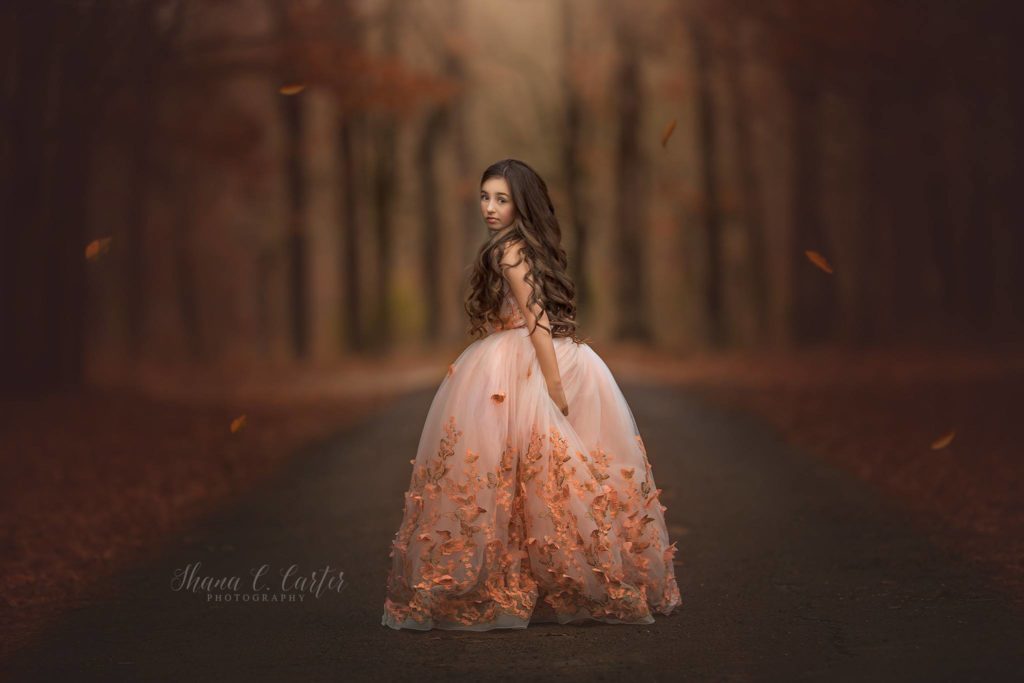
Since this blog post is focusing on adding more Fall color tones and Summerana leaf overlays to make it scream FALL, we will skip ahead to this part of the edit. In the video tutorial, which you can sign up to watch for FREE here, she will show how to change her dress color so that it is a pretty Fall color to match the background. Next, she walks you through in Photoshop how to change the background hues to more Autumn colors. Now it’s time to separate her subject from the background to really make her stand out. Using Photoshop’s curves adjustments she adds a subtle vignette and also a matte finish to the entire image, except her subject, in which she will show you how to use the radial gradient tool to naturally take the effect off of her.
After she has perfected her client’s dress, background color tones, and adds a pop to the image, the final step is adding in the Summerana leaf overlays! She applies them to her image, and places them around her subject in a way that they are falling softly beside her. Since our leaf overlays are bright and sharp to start with, she teaches you how to tone them down, add blur, change the color and more so that they blend just perfectly into the background.

So there we have it – we hope you learned a lot from her awesome Photoshop Editing Tutorial! We love her stunning images, and if you want to see some more of them be sure to visit her website – there are just so many beautiful images to look through! You can keep up with her latest work over on Facebook and on her Instagram.