THIS IS A GUEST POST COURTESY OF SIERRA PEARL PHOTOGRAPHY
Welcome to my home studio! This little room is my sanctuary, my escape, my creative space! I am so excited to share with you how I make the most of my one room home studio!
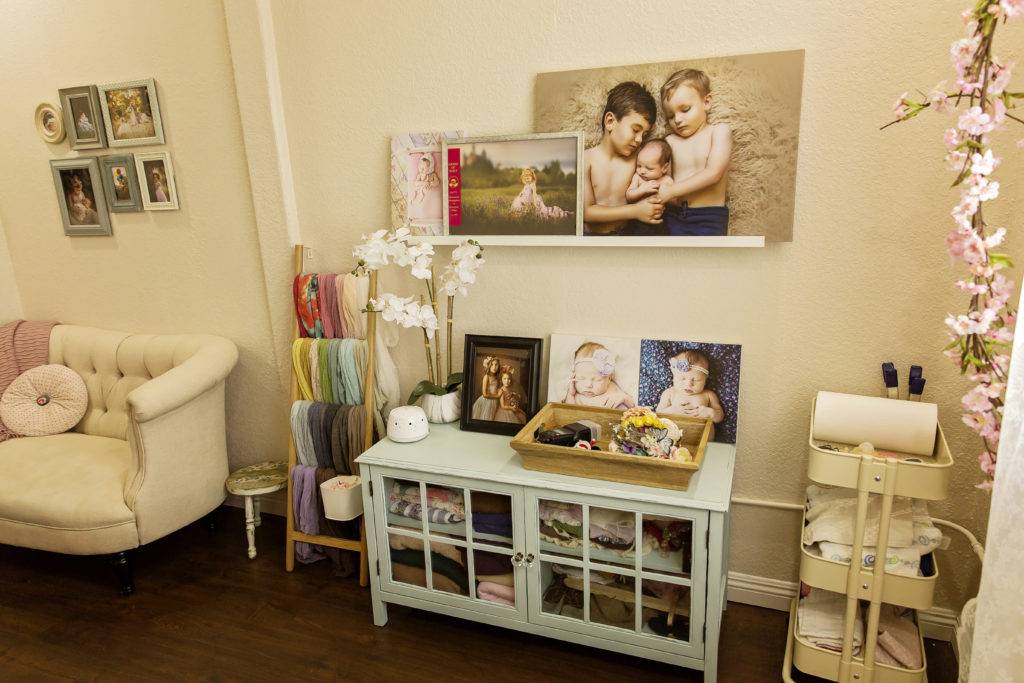
I’ve wanted a studio space for years but always felt like I couldn’t create one in my home because it would be too small, or too dark, or seem “unprofessional”. Finally two years ago I made the leap and we refinished a space in our home to use as my studio! Having a small home studio has been amazing and so much easier than I thought it would be!
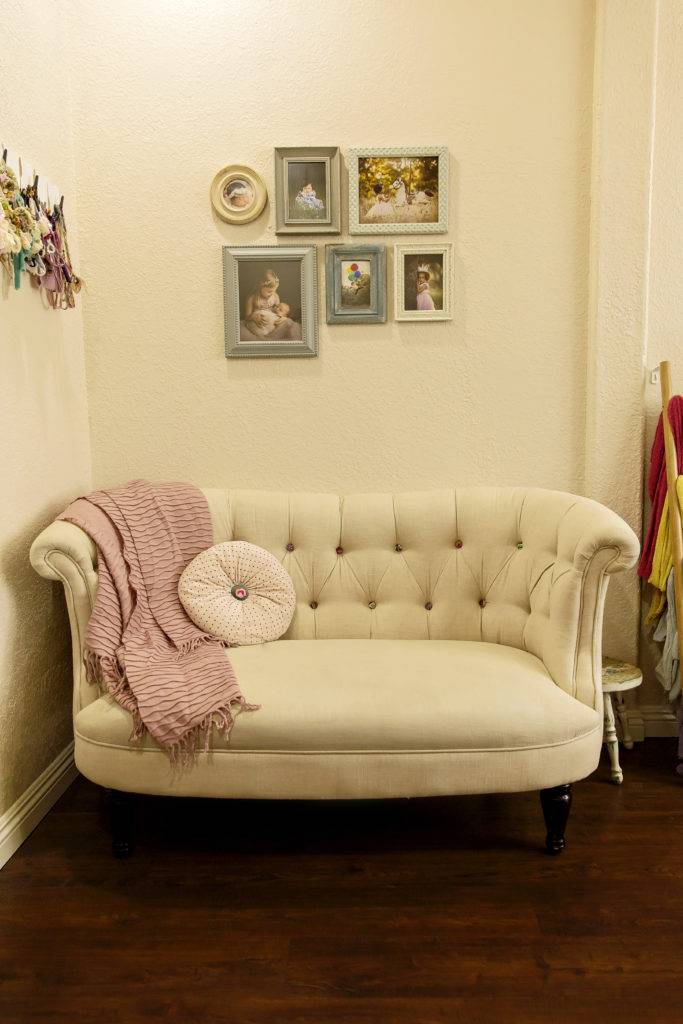
I’ve learned that for photographing newborns and individual portraits indoors, you really don’t need a large space! I use natural window light in my home studio and have just enough space for my clients to comfortably sit while I photograph their sweet newborn baby or their child. It’s cozy and bright and my clients always feel at home in my studio!
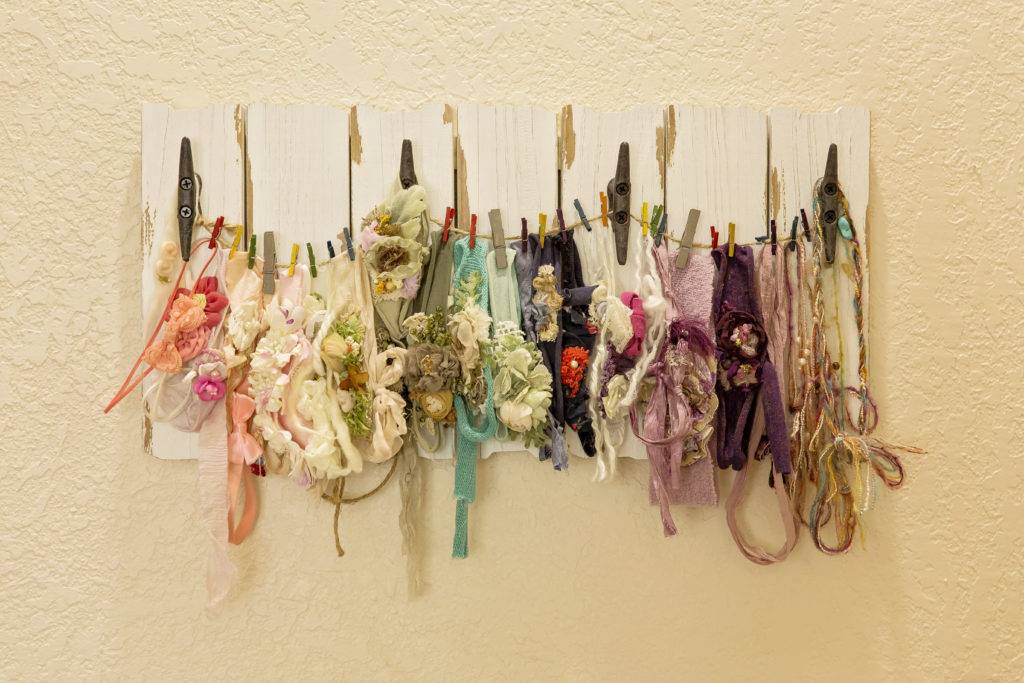
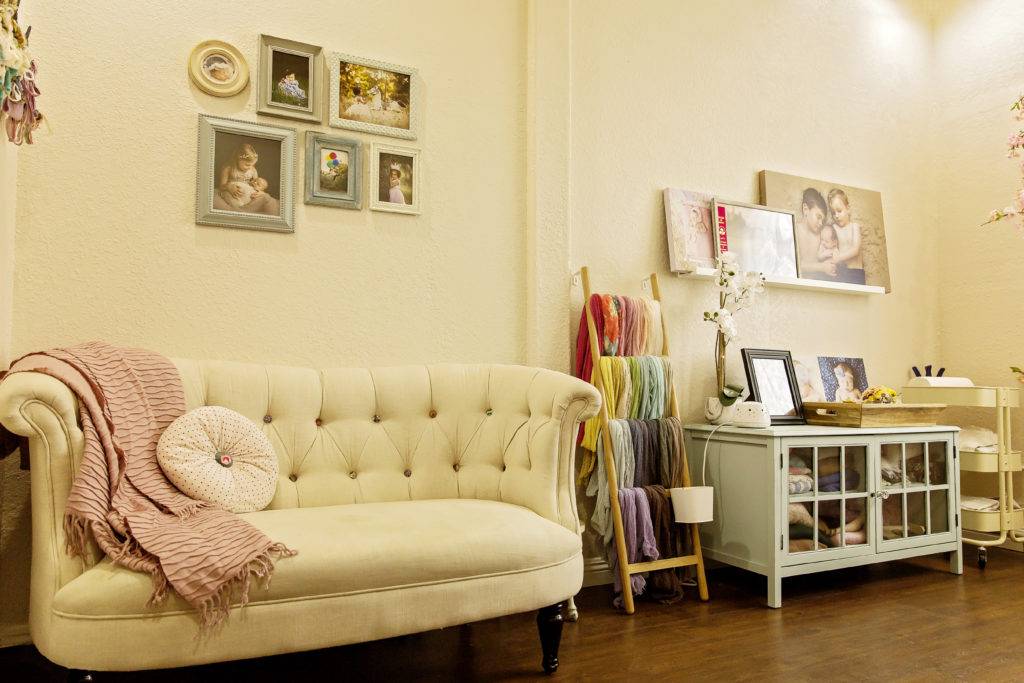
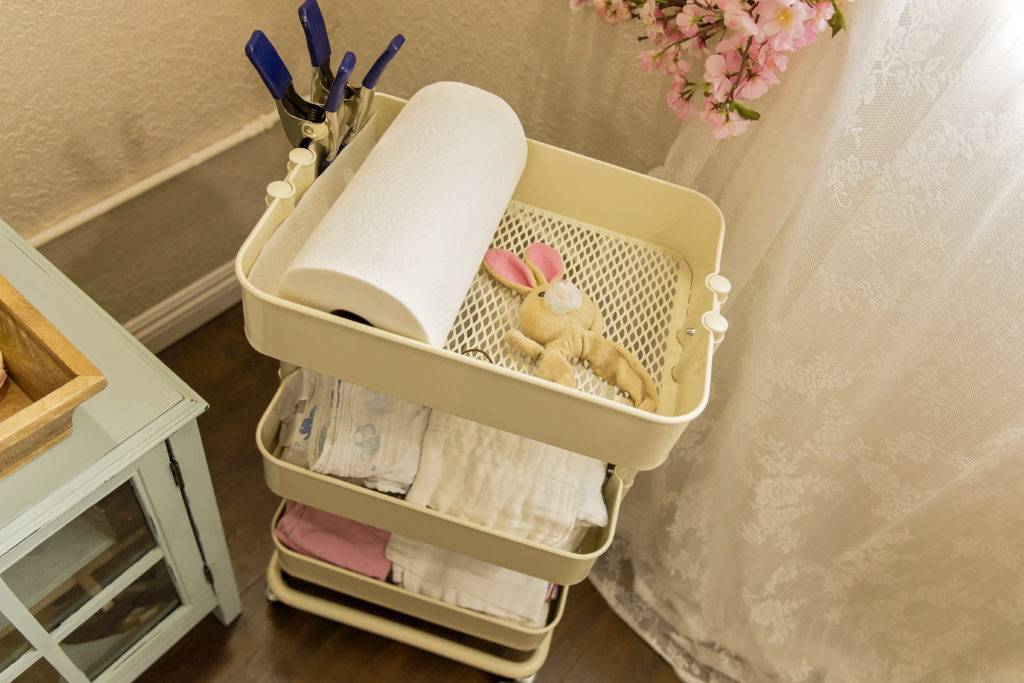
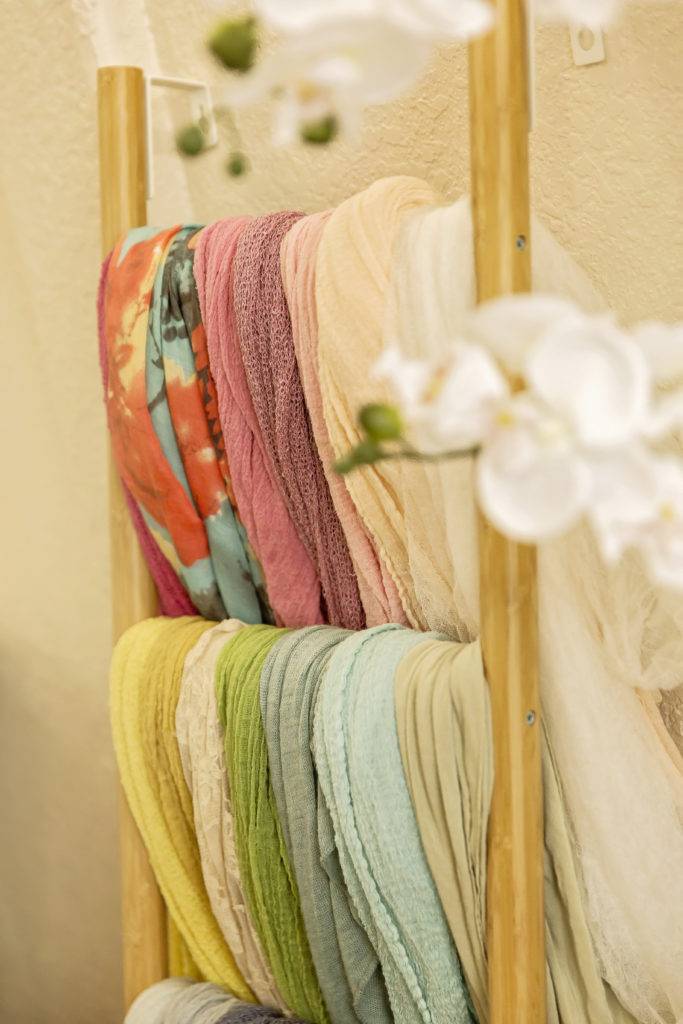
The key to making a small studio space work is being organized and not having an abundance of clutter. I try not to hang on to props that I’m not using, and everything in my studio has a designated place. All of my backdrop fabric and newborn outfits are stored in my blue cabinet, along with any small props I might need to use during a session. My awesome rolling cart allows me to store the items I will need during a session and access them quickly and easily. I absolutely love the ladder I use to hang my wraps, and the clothespin organizer I use to hang my tiebacks! They are fun (and inexpensive) options that allow me to maximize space while still displaying my items for parents to choose from during a newborn session.
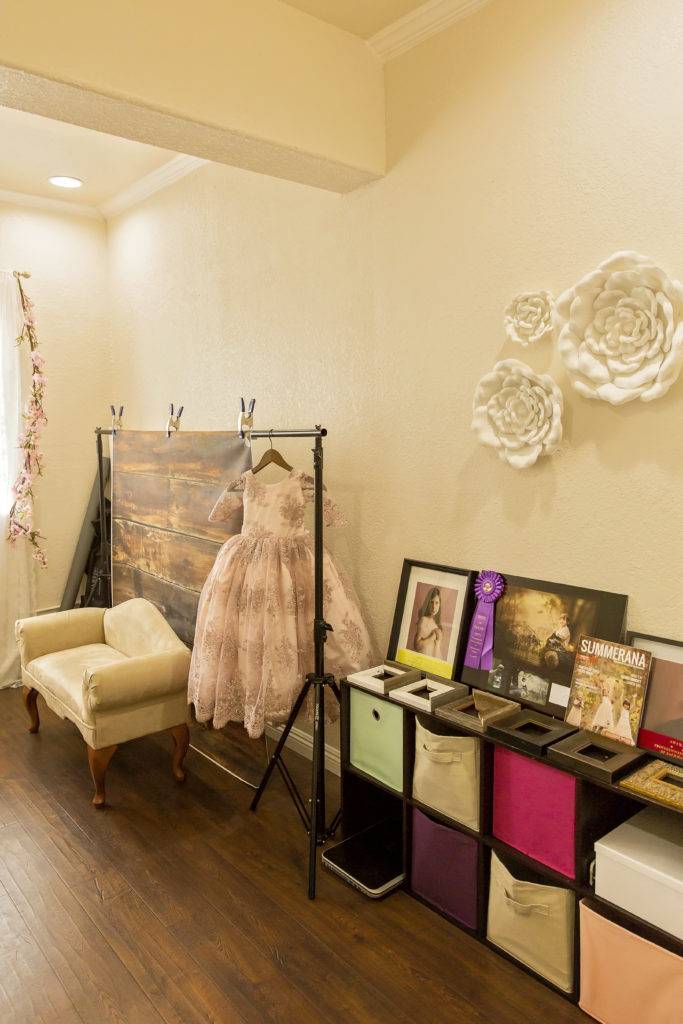
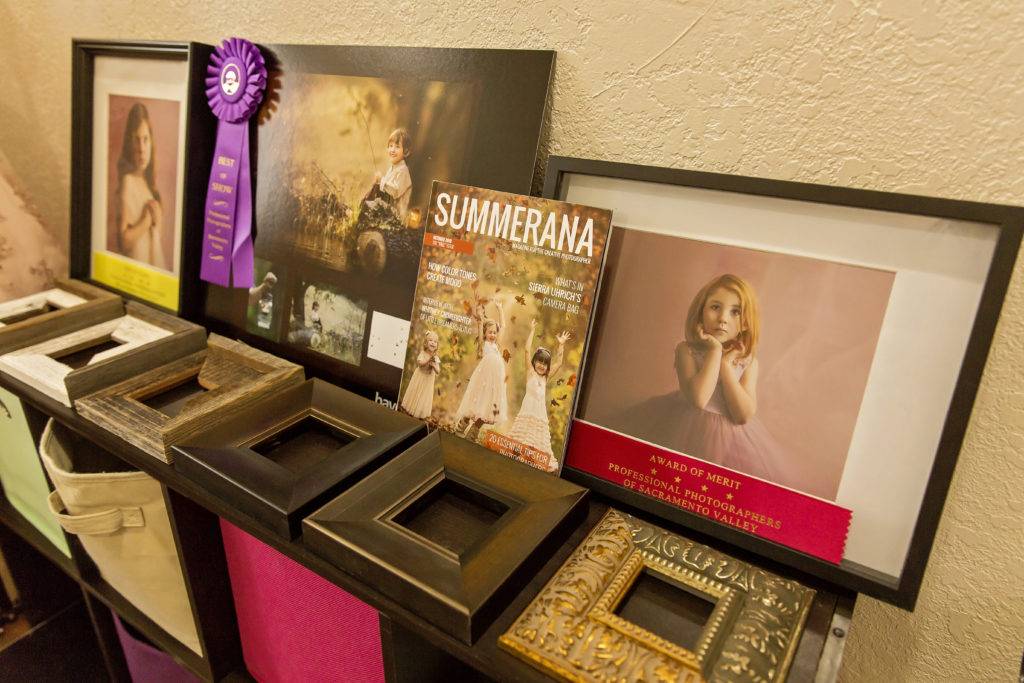
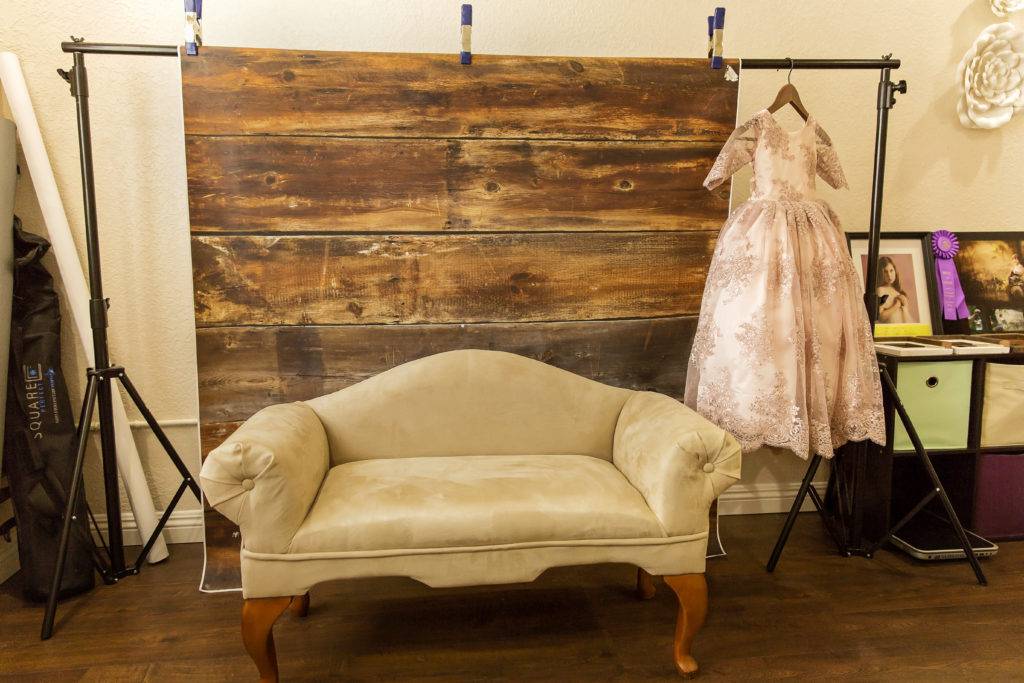
I also have the products I offer displayed in my studio! Hanging on the walls are some of the exact prints and canvases that I sell, and I have frame corners, mat samples, and my folio box sample available for my clients to look at during the session. I love being able to show them the exact items they will be able to order and my returning clients love seeing portraits of their own children displayed on my walls! When one of my images has won an award, I display the ribbon along with the image as well! Because if you can’t shamelessly promote yourself in your own studio then where can you?
In January I will be moving into a commercial studio space in an amazing historic building in Folsom, California! I will still use my home studio of course, and it will be wonderful to give my clients the option of meeting in either one of my studio spaces, depending on which location is more convenient for them!
My new space is larger and will offer me the opportunity have a separate room for meeting with my clients for their ordering appointments. I will also be able to photograph entire families and use larger props. Having a cozy home studio as well as a larger commercial studio will allow me to better meet the needs of all of my clients!
If you are considering turning a space in your home into a studio for 2019, or even renting a commercial space, go for it! It is one of the best things I’ve done for my business and I can’t wait to see what 2019 brings!
This article was featured in Summerana’s Magazine – The Studio Issue. See the full issue here
Watch me edit:
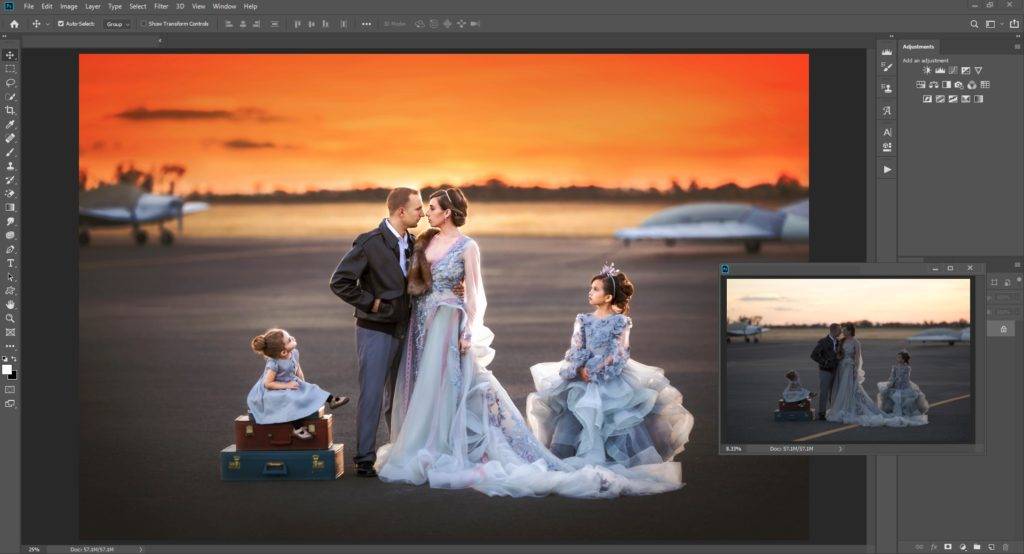
Want to watch me edit this image in Photoshop from start to finish? It’s available to watch in the Summerana Membership here until September 10th, 2019!
In this editing tutorial, Summerana guest instructor Sierra Uhrich of Sierra Pearl Photography shows you her step-by-step process for editing a dramatic fine art portrait with gorgeous sunset hues and light.
“This is my best friend and her family. Her husband is a pilot and planes are a really important part of their family so it was only natural that we take their family portraits at the airport!” – Sierra Pearl Photography
You’ll learn how to save a photo that was taken too late after the sun is already setting, how to get a gorgeous dramatic golden hour sunset, how to get the fine art look, how to edit out distractions, how to add dimension through dodging and burning, fix hair and add volume, how to really make your subjects pop, add contrast and depth, add a matte effect, sharpen details, how to add beautiful toning, vibrance, and warmth to your image and more… all through hand editing and using Summerana Photoshop actions!
Edited using:
- Photoshop software
- Hand editing
- ColorFall Photoshop actions
